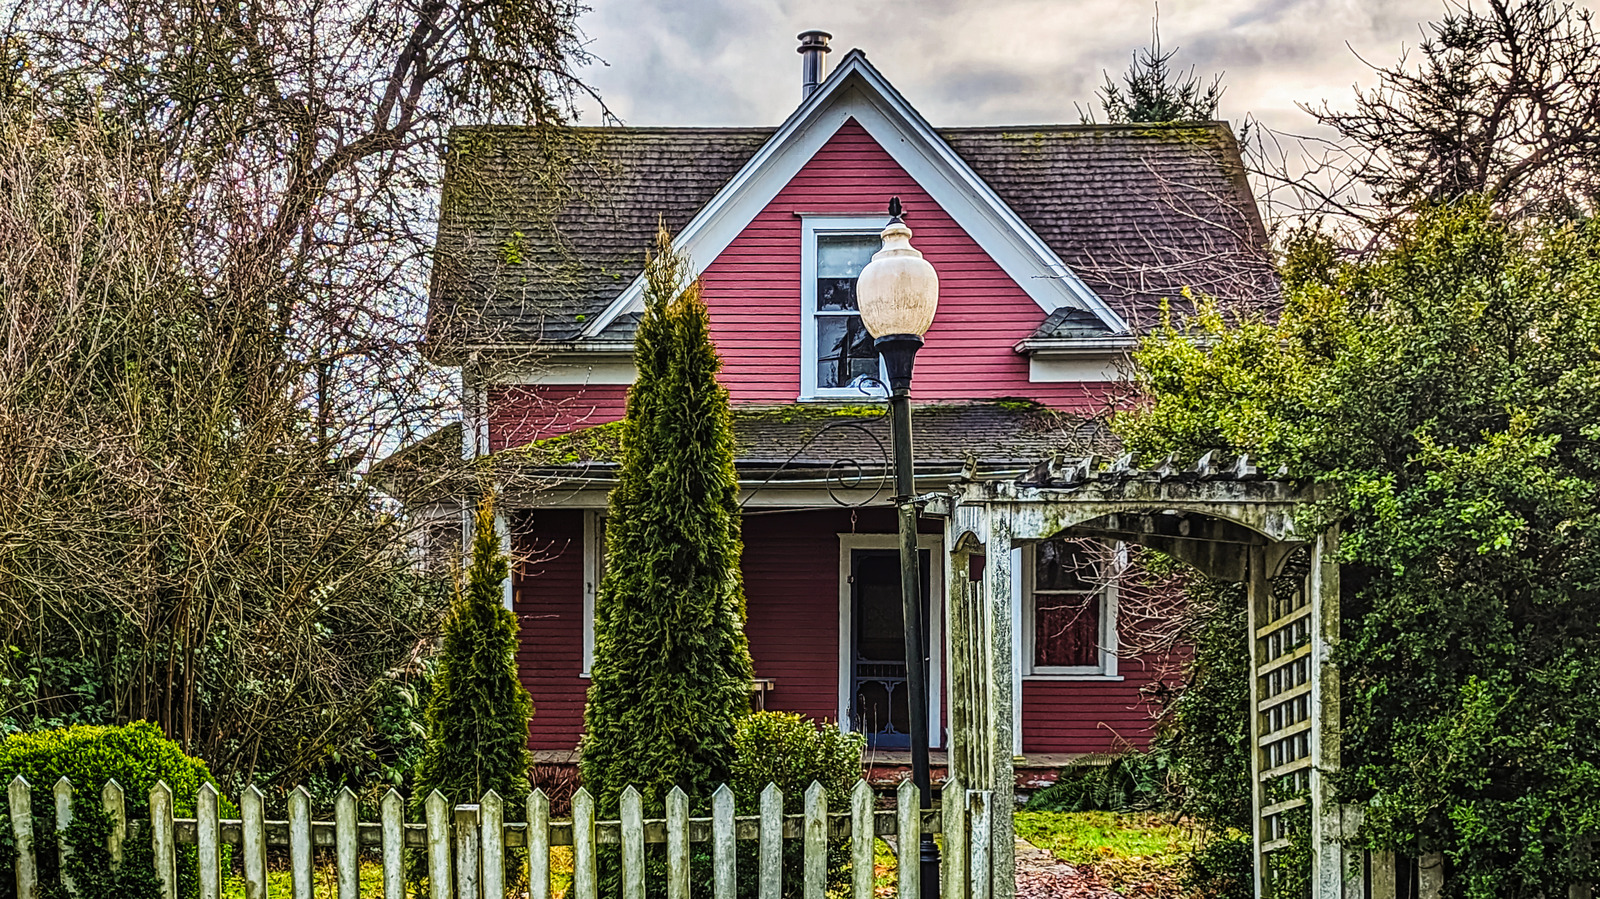
Restoring an old farmhouse is a dream for many, but it comes with challenges. It’s not just about updating finishes and giving things a fresh coat of paint. Restoring an old home is part construction, part archaeology. You’ll likely run into hidden structural and moisture problems, plus potentially dangerous materials like lead and asbestos. All of that can really blow up your budget and timeline if you’re not careful.
The key is remembering that old buildings are both fragile and tough. The timber frames and solid masonry may have centuries of life left, but they don’t always play nice with modern materials and methods. You’ve got to be really thoughtful about how you approach restoring an old place, from dealing with hazardous materials to upgrading core systems like plumbing and electricity.
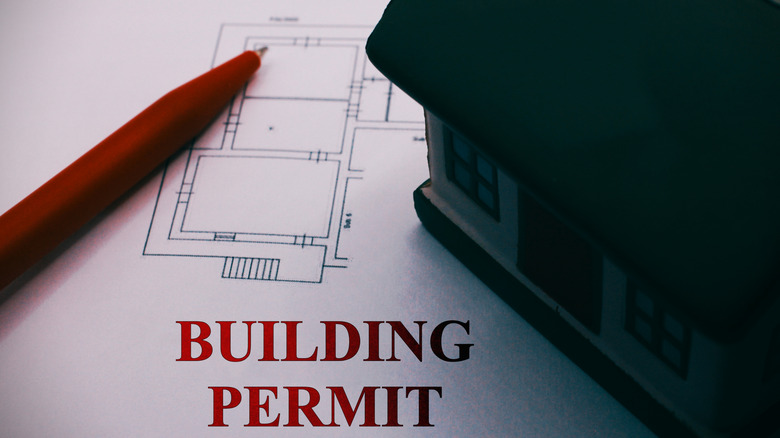
Clarify historic status, permits, and zoning
RaffMaster/Shutterstock
Before you start any work, you need to find out if the property is in a historic district, is formally listed, or has a preservation order on it. This will affect what kind of changes you can make, both inside and out. Historic status impacts things like the exterior appearance, window types, structural changes, and interior alterations. Make sure you check with the local planning office and historic preservation commission to understand the rules.
If there are special restrictions, figure out which parts of the property are covered and what the specific guidelines are. Some historic properties may only have requirements for the main building’s exterior and landscaping features.
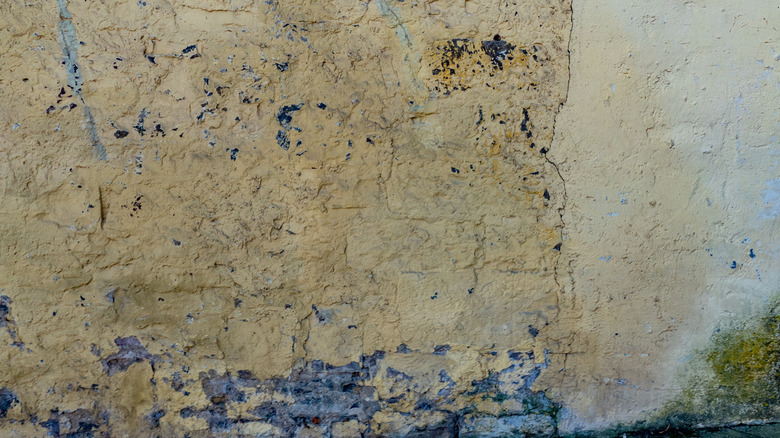
Start with a structural and moisture assessment
Dietrich Leppert/Shutterstock
Old buildings can look decent on the surface, but be hiding some serious issues underneath. Things like sagging framing, rotted sills, insect damage, leaks, and mold. Painting over these problems won’t fix them – the issues will just keep getting worse. You need to get a qualified inspector to do a thorough assessment and identify any core stability or moisture problems early on.
Look for obvious signs yourself, like stained walls, musty smells, peeling paint, and rotted trim. But have a pro come take a deep dive into the foundations, roof, and other major structural elements.
Stabilize roof, gutters, and site drainage first
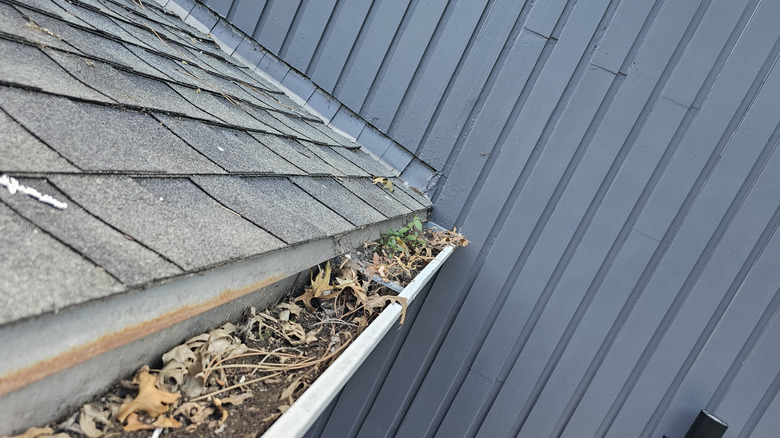
Fat man hikes/Shutterstock
Moisture is the enemy of old buildings, so tackle the roof, gutters, and drainage first. Leaky roofs, clogged gutters, and poor grading can all let water into the walls and foundations. Get the roof and gutters in good shape, and improve the grading and drainage around the house to keep moisture away.
Check the roof for damage, and replace or repair the gutters and downspouts. You may even need to regrade the land to direct water away from the foundation. Dealing with moisture issues upfront will prevent a lot of other problems down the line.
For downspouts, consider adding extenders to move water further from the house. And if the grading isn’t great, a French drain may be needed to prevent water pooling.
Identify and manage lead-based paint risks
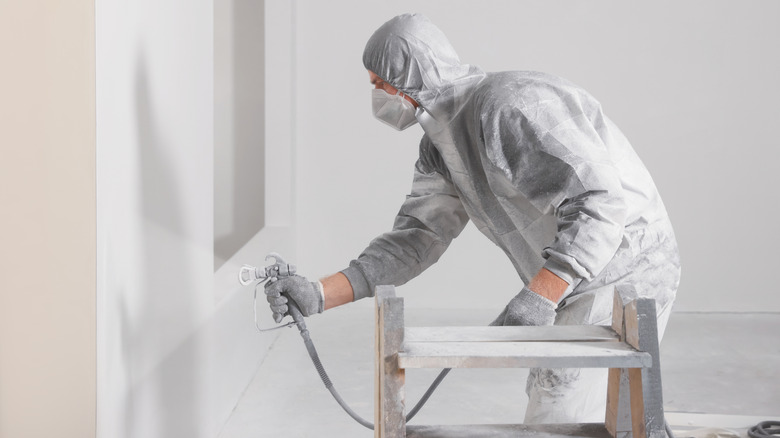
Liudmila Chernetska/Getty Images
Most pre-1978 homes had lead paint, especially on things like trim, windows, doors, and railings. Disturbing lead paint releases dangerous dust. You’ve got to be really careful when sanding, demolishing, or working on areas with lead paint. Use proper containment, dust control, and personal protective equipment.
Get a professional inspection and testing done to identify any lead. If there is lead, you may need to hire a certified abatement contractor to remove it safely.
Check for asbestos and other hazardous materials
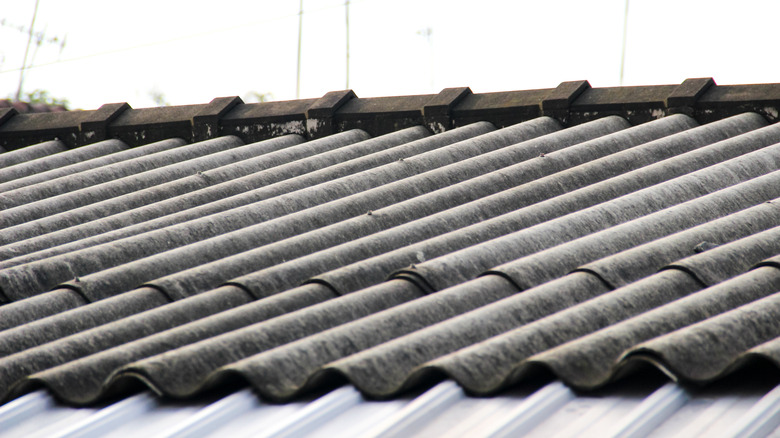
Ramadhan Noval/Shutterstock
Older homes often contain asbestos in things like siding, roofing, walls, and insulation. Disturbing asbestos releases dangerous fibers into the air. You need professional testing to identify asbestos before doing any demolition or remodeling. And if it’s present, you’ll need certified asbestos abatement specialists to remove it safely.
Some asbestos materials can be left in place if sealed properly, but others need to be removed by the pros. This isn’t something you can risk DIYing – it can contaminate your whole home.
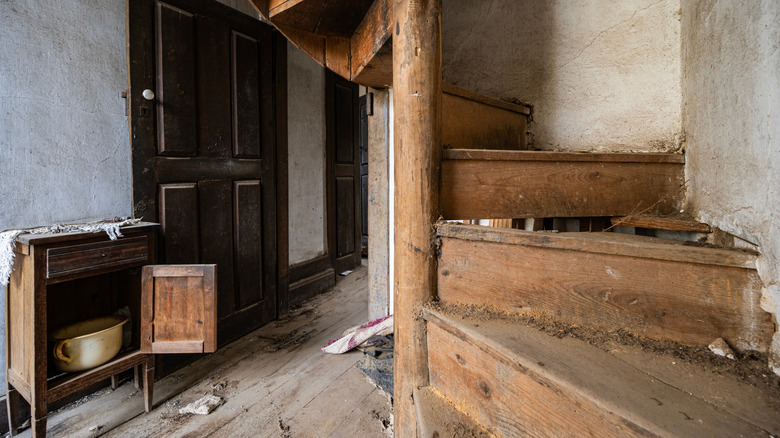
Document and protect significant historic features
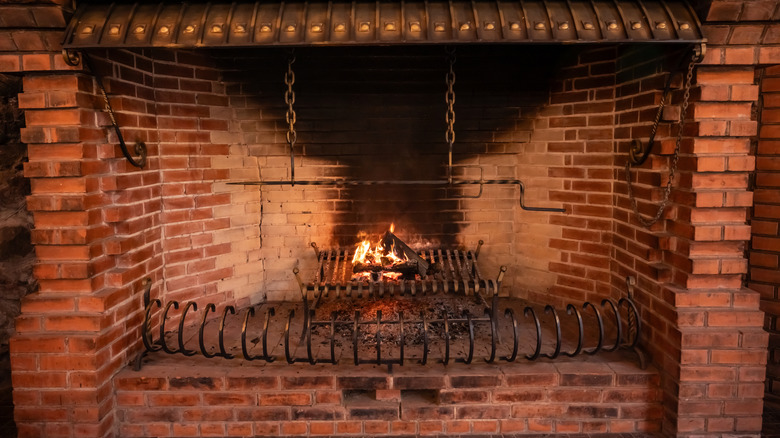
Kazakova0684/Getty Images
If you’ve got a historic home, you’ll probably want to preserve as many original features as possible. Things like staircases, moldings, doors, windows, floors, fireplaces – these all tell the story of the home. Photograph and document everything you want to save, and carefully shield and protect those elements during the work.
For removable items like hardware, clean and restore them carefully, then label and store them so you know where they go. The goal is to preserve as much of the historic character as you can.
Set a realistic budget, schedule, and contingency
Kever/Getty Images
Older homes are full of surprises. Hidden issues, undocumented changes, and code compliance can all add a lot more work and cost than you planned. So build in a healthy budget cushion, like 10-20%, for the inevitable surprises that come up.
Focus your main budget on the essentials like structural repairs, weatherproofing, and upgrading electrical, plumbing, and HVAC. Then you can fit in the nice-to-haves like fancy finishes if the project comes in under budget. But be prepared to scale back on the extras if you hit more issues.
Plan for code and life-safety upgrades
Paulo Santos/Shutterstock
Older homes often lack modern safety features and may not meet current building codes. Things like inadequate stairs, poor egress, and lack of smoke/CO detectors can be issues. You’ll need to talk to the local planning office to understand where you need to fully meet codes, and where there may be exemptions or flexibility for historic homes.
Consulting a construction pro who specializes in historic homes can also help with things like fire protection, structural changes, and meeting egress requirements.
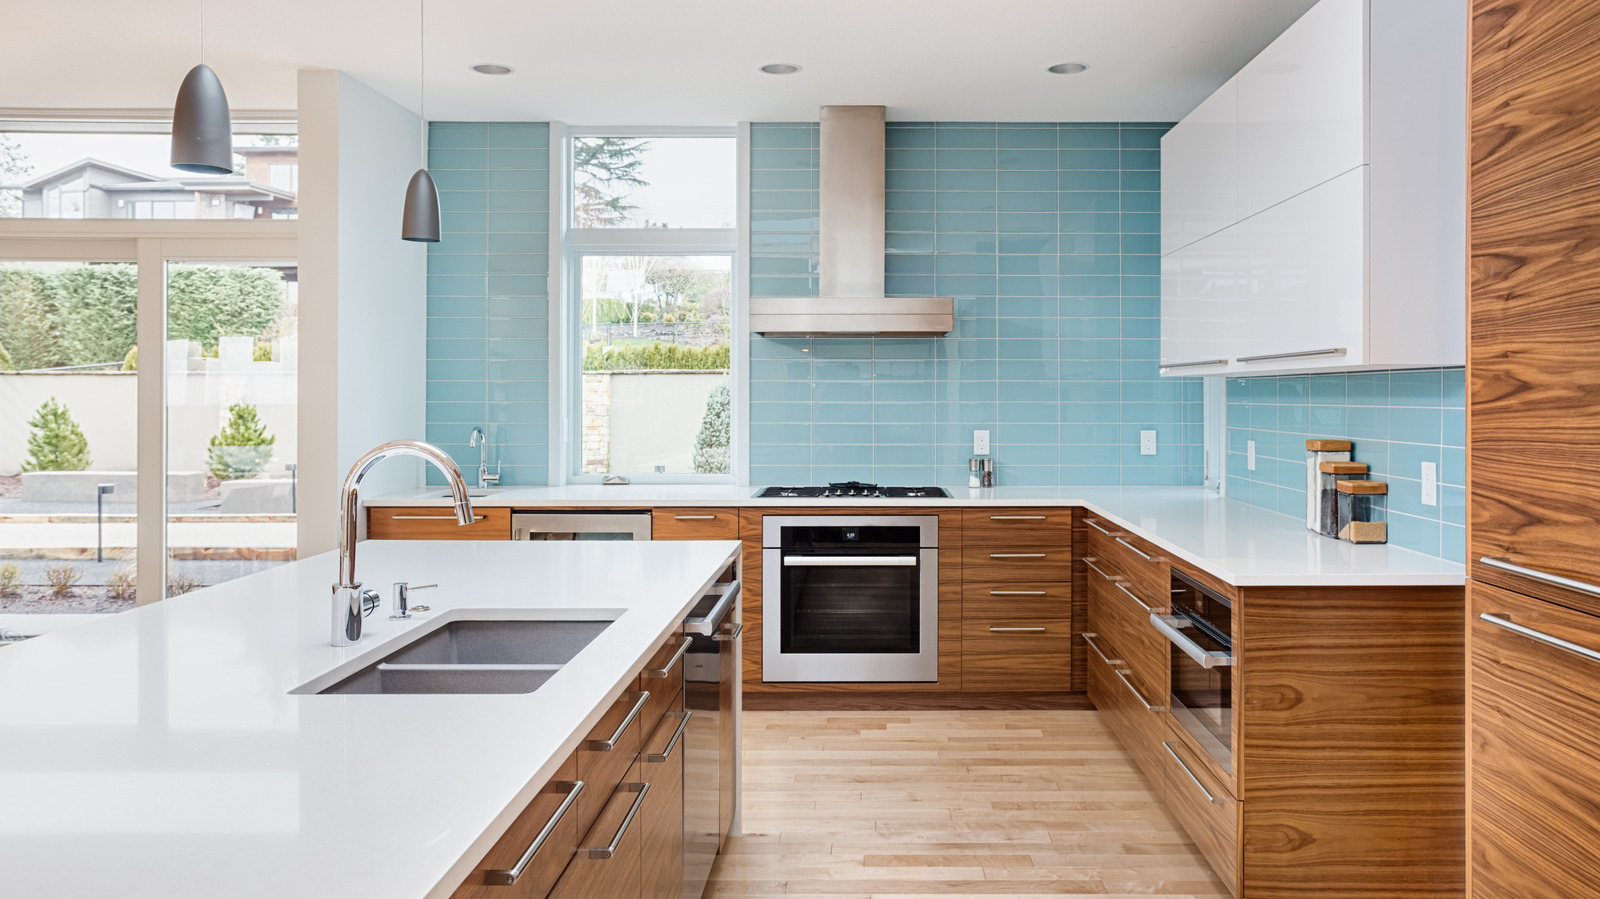
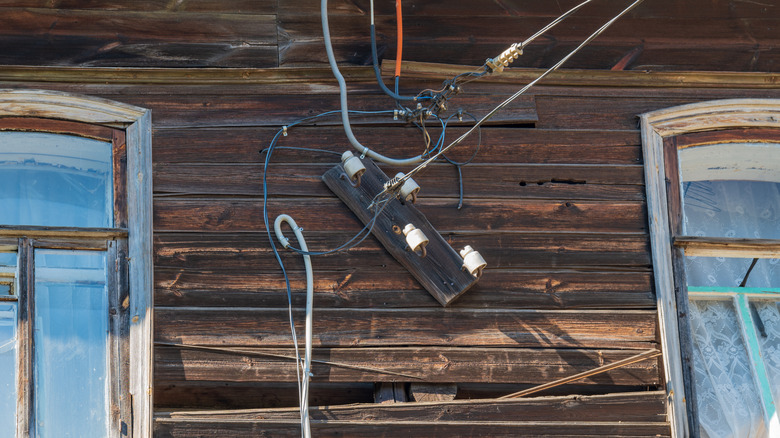
Evaluate and modernize the electrical system
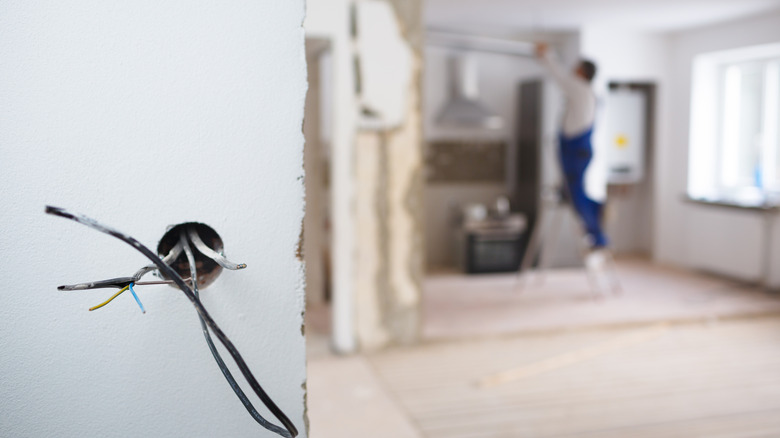
Viktorcap/Getty Images