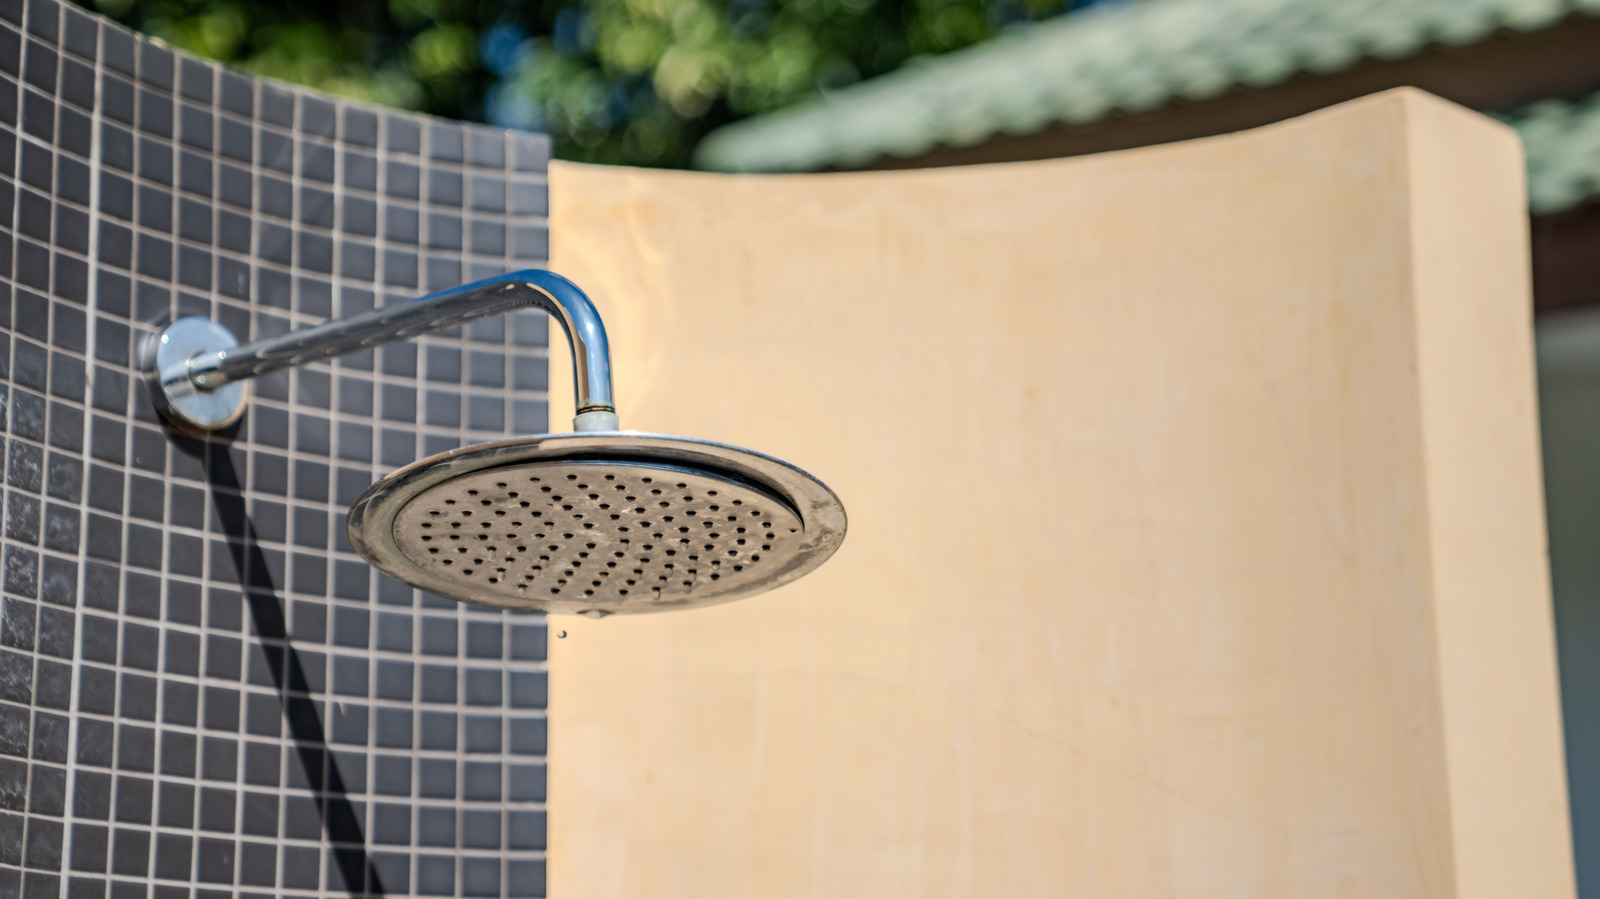

Surachet Jo/Shutterstock
Tiling curved shower surfaces can seem daunting, but it’s definitely doable with the right approach. While homeowners may hesitate, adding tiles is not just about looks – it also makes the shower walls easier to maintain and more durable. Whether you want to add a touch of elegance to concave niches or simply tile around the curved shower tray, you don’t have to let the surface shape limit your design plans.
You can’t just slap any old tile on a curved wall, though – that’ll just lead to ugly gaps. Tiling a curved surface takes a bit more work than a flat wall, but the key is to use smaller tiles that conform to the shape better, and follow the right installation techniques.
In general, the smaller the tile, the easier it is to work with curves. Mosaics and kit-kat tiles are great options because their smaller size allows them to follow the curves without cracking. The more curved the surface, the smaller the tile width you’ll need. Smaller tiles do take longer to install, though, and mean more grout lines to clean.
The right materials required for tiling curved shower surfaces
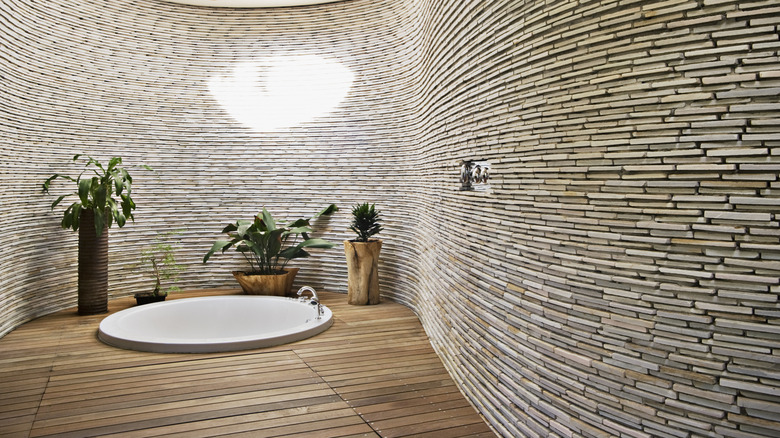
Robert Daly/Getty Images
There are lots of great tile options for curved walls that aren’t too big but still look stunning. Kit-kat tiles are slim and rectangular, while penny round mosaics offer circular shapes (and can provide slip resistance if you choose the right ones). Mosaics work really well if you want to add visual interest when tiling vertically. When it comes to material, porcelain or ceramic tiles are recommended since they’re flexible enough to work with curves.
Along with the right tiles, using the proper adhesive is crucial. There are specialized adhesives made for curved surfaces that provide both flexibility and strength to keep the tiles in place. Some of these, like polymer wall tile adhesive, are also slip-resistant and can handle slight structural movements.
Before applying any adhesive, be sure to dry-fit the cut tiles first to make sure they fit the curved surface properly. It’s also a good idea to evaluate and prep the surface beforehand – the type of curve (concave or convex) and the base material will affect your choices for both tiles and adhesive.
The right technique for tiling curved shower surfaces
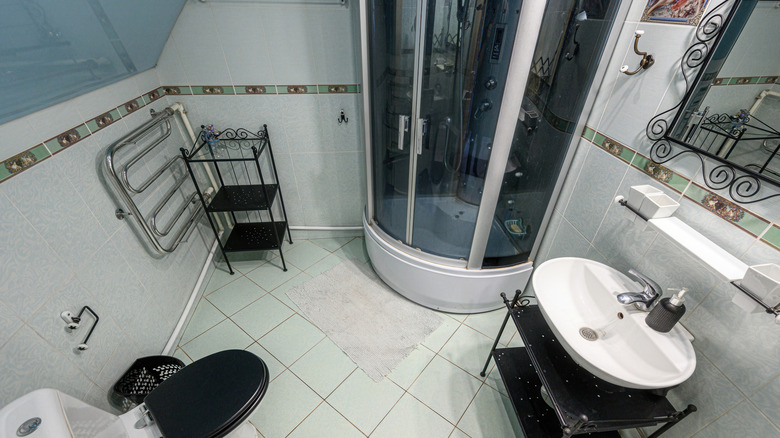
evgeniykleymenov/Shutterstock
The basic steps for tiling a curved surface are similar to a normal tile installation, but it does require some extra planning and precision. First, make sure to thoroughly clean the surface before getting started – you want the best possible conditions for the tiles to adhere.
Next, take precise measurements of the curve and use a tile cutter to trim the tiles to the right size. One handy technique is called “keystoning” – place a tile on the curve, mark a line from the center to the tile’s edge, and cut off the excess. Start with smaller cuts and work your way to a perfect fit. This will give you evenly-sized tiles that conform nicely to the curve.
The process is similar for floor tiles around curved areas like the shower tray. Place the tile, mark the needed cut, and gradually refine it until it fits snugly. Then lay the tiles, using spacers to maintain even grout lines. Apply the grout, clean up any excess mortar, and seal the joints just like a normal tile job.