Got some leftover landscaping fabric gathering dust in your garage? There’s a good chance you’ve already used it for the usual stuff – like battling weeds in your yard or laying it under gravel to keep things from sinking. But here’s a fun twist: what if you could turn that extra fabric into grow bags for your garden instead? Grow bags are basically the fabric cousins of your typical planter pots. Just fill them with soil and plant away, just like you would with plastic or terracotta. So what makes fabric the way to go? Well, they’re pretty amazing at creating super healthy root systems. Here’s the cool part: the fabric breathes, which actually tells roots to chill out and stop growing when they hit the material. With plastic containers, roots just keep on growing and tangling up inside – that whole root-bound situation. Sure, you can buy ready-made grow bags, but if you’ve already got landscaping fabric hanging around or you’re just itching for a fun DIY project, this one’s perfect for you. Bohdan Bevz/Getty Images
How to make your own grow bags from landscaping fabric
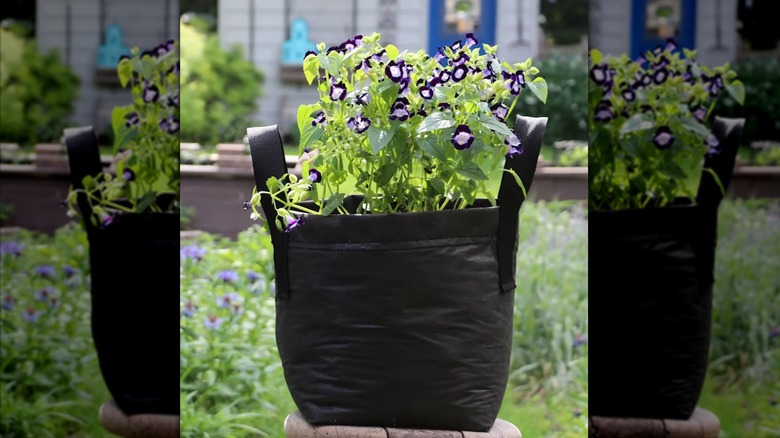
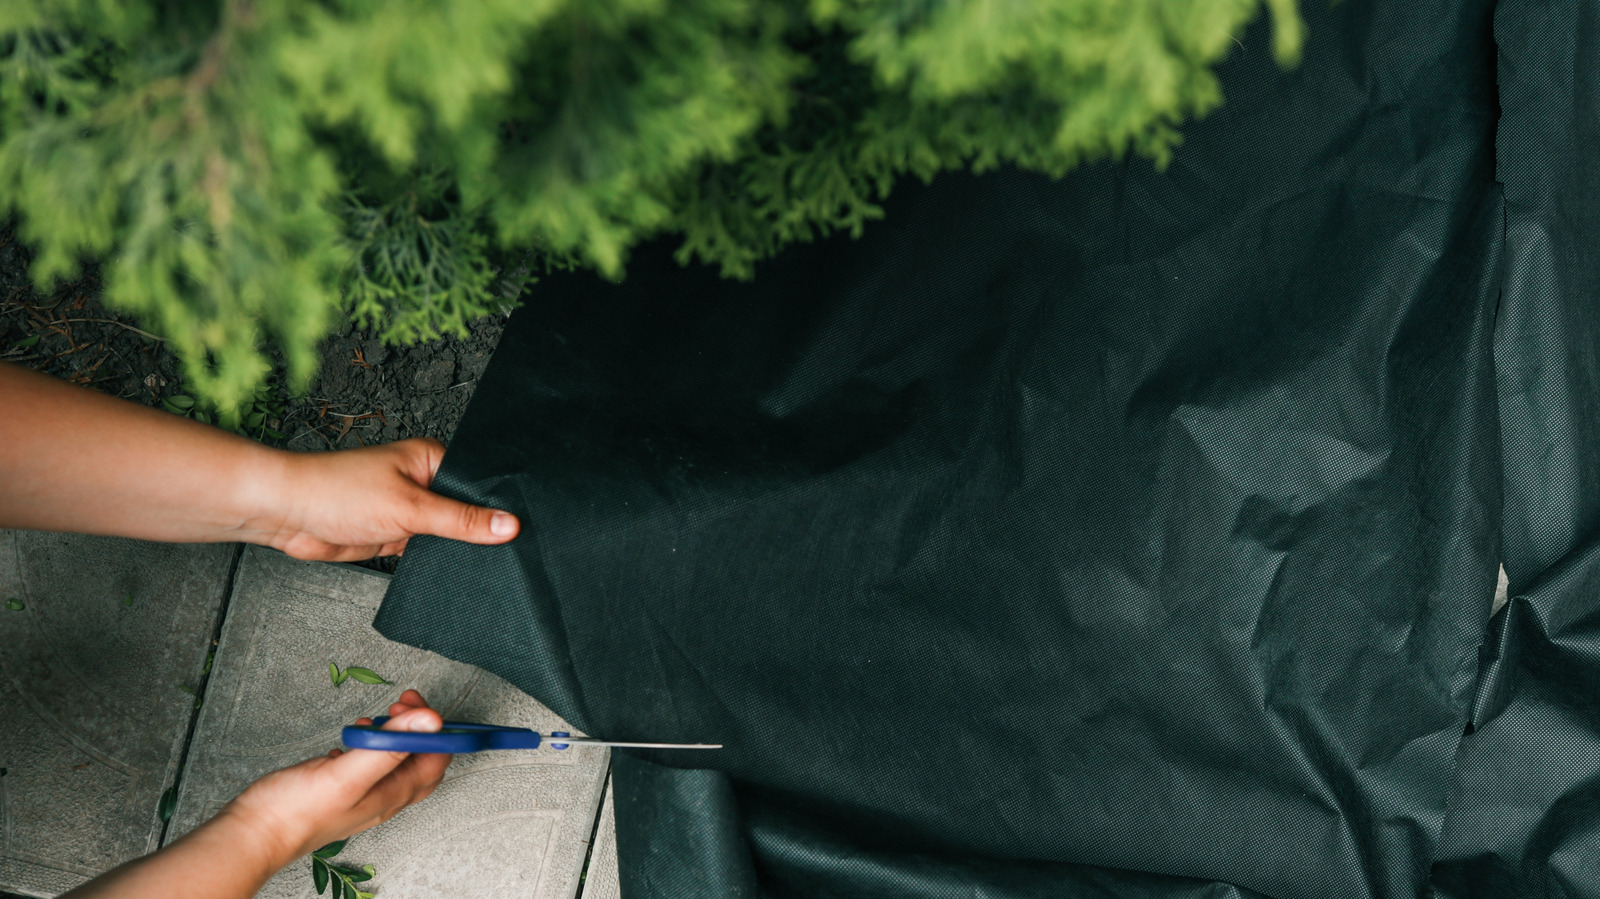
To whip up a medium 16-inch bag, start by cutting two pieces of fabric measuring 32 by 48 inches. When you fold these lengthwise, they’ll create thick 32-by-24-inch layers. Sew around all four sides of each piece to build that sturdy, double-layered fabric for your bag. You can hand-sew if you want, but honestly, a sewing machine will give you a much stronger, sturdier result.
Stack your two fabric pieces on top of each other and sew the bottom and both sides, but leave the top open. Now here’s where it gets fun: cut an 8-inch square from each of the bottom corners on both the left and right sides. Open up your bag by pulling those two sides apart – yeah, it’ll feel weird at first, but once you see those two holes on either side, just pinch them closed and stitch them shut. Boom – you’ve just created a flat bottom that lets your bag stand upright. Flip the whole thing inside out, and you’re ready to fill it with soil and plants.
Want to get fancy? You can add handles by cutting two 18-inch strips of 1-inch webbing straps. Sew one end to the outside of the bag, bring the other end down, and sew that too – now you’ve got a handy loop. Do the same thing on the opposite side with your second strip. Just make sure you know how to keep your new creation in tip-top shape so you can use it year after year.