We may receive a commission on purchases made from links. Your jewelry collection can get out of hand and become tricky to keep organized. When necklaces, earrings, rings, and other pieces get tangled up or scattered around, it can be a total mess and can even damage your jewelry. If this sounds like your situation, it might be time to find a dedicated home for all your bling. Instead of splurging on an expensive jewelry box or organizer, you can get crafty and transform a cheap Dollar Tree toolbox into a clever jewelry storage solution with a simple DIY. All you need is some soft felt, hot glue, and scissors to create a protected, portable jewelry station that keeps everything visible and accessible. It’s so fun to get creative with your storage! To make this DIY jewelry holder, you’ll need a few essentials. First, pick up Dollar Tree’s basic toolbox for just $5. Then, grab some craft felt sheets or a roll of felt like this one for under $12 in a color you love (or mix it up with a few different shades). You’ll also need a good pair of scissors, a glue gun, and maybe some paint, ribbon, or trim if you want to add some extra decorative touches. Felt is perfect for jewelry storage because it cushions all your pieces and prevents them from sliding around, plus it’s often used in handmade jewelry cases and travel organizers. It helps keep moisture and dust away from your jewelry to prevent tarnishing. Magmos/Getty Images
The steps to take when creating your new jewelry storage box
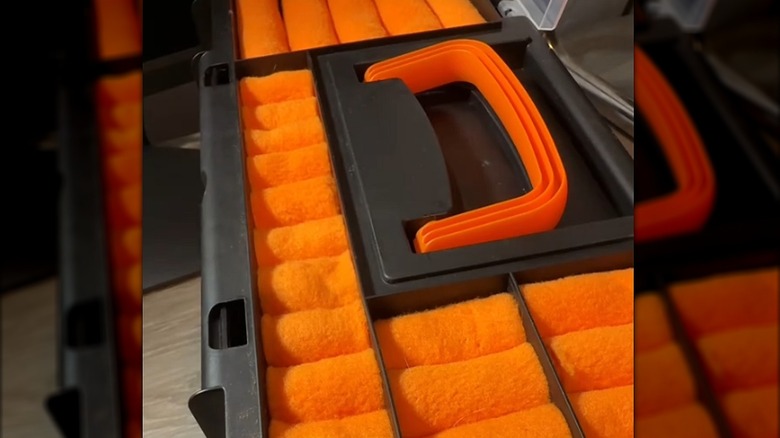
First, take the toolbox apart so you can see all the compartments inside. Fold the felt in half and cut it into small rectangles, then use hot glue to roll them up tightly. Next, take your glue gun and draw lines inside the smaller top lid compartments of the toolbox to attach the felt “rolls” in rows. Make as many as needed to fit across the spaces, so your rings and earrings can sit comfortably.
You’ll also want to glue some felt to the bottom and sides of the toolbox to act as a cushion. Then, glue felt inside the other compartments to hold your bracelets, necklaces, and other jewelry. Once it’s all set up, you can fill it with your collection and organize however you like.
For fun, try using different felt colors to categorize your jewelry by type, like rings, earrings, and necklaces. Or organize everything by color to make your pieces really pop. You can even add some extra touches to the outside of the toolbox, like decorative boxes or trays to hold your everyday essentials.


