
We may receive a commission on purchases made from links. Trying to get your home looking spotless, but something still feels off? Your baseboards might be the culprit! Since they wrap around your entire home, dirty baseboards can really drag down how clean everything looks. The good news? If you stay on top of them regularly, they shouldn’t cause any headaches. Plus, there are tons of tricks out there, and if you use them regularly, they’ll just need a quick wipe now and then. But here’s the thing: if you’ve waited too long and your baseboards are looking seriously gross, you’ve got to think strategically. That’s why we chatted with pro cleaners to get their best tips. In exclusive chats with House Digest, they share tons of advice and tricks for getting your baseboards looking fresh. Even better, they called out some common mistakes folks make—including methods you should totally skip. From getting your baseboards ready to the best order to clean them in, if your place needs some TLC and your baseboards are the problem, then this expert guide is just what you need. New Africa/Shutterstock
13 Baseboards: What Experts Say You Should and Shouldn’t Do
Do: Move furniture when possible
 Yauheni Kazlou/Shutterstock
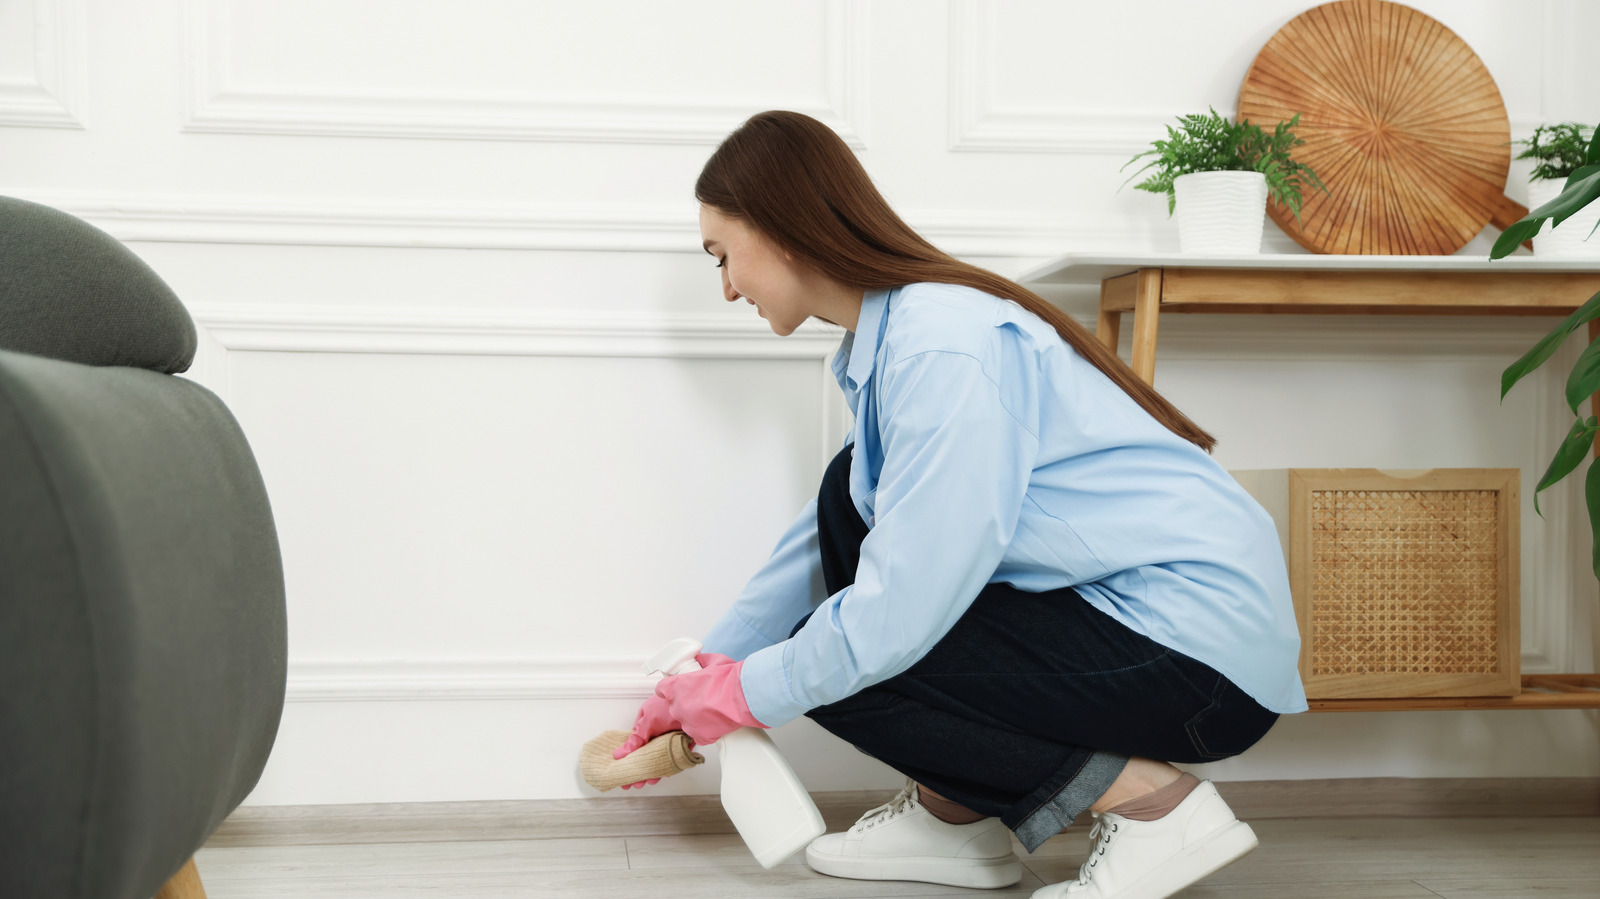
 Our first bit of advice comes from Scott Benson, Director of Operations at a leading cleaning company. In a chat with House Digest, he explains that good cleaning is about way more than just the cleaning itself. It’s really about setting yourself up for success by making sure everything’s easy to reach. I mean, there’s nothing worse than getting all pumped up with your supplies and finding a huge piece of furniture blocking your way.
So here’s the thing, says Benson: “Moving couches, chairs, and side tables means you can get at the entire length of your baseboards.” Don’t be tempted to just clean around them. Even if the dirtiest spots are hidden away, you won’t be able to ignore them for long if the wood starts to rot, which can totally happen in dark corners where your furniture sits. Instead, take a couple minutes to pull things out, then really get those baseboards clean. Plus, you’ll also vacuum under your furniture—crossing another task off your list. And hey, if you’ve got kids, you never know what toys or missing socks might be chilling under the sofa.
Do: Start with dust removal
 New Africa/Shutterstock
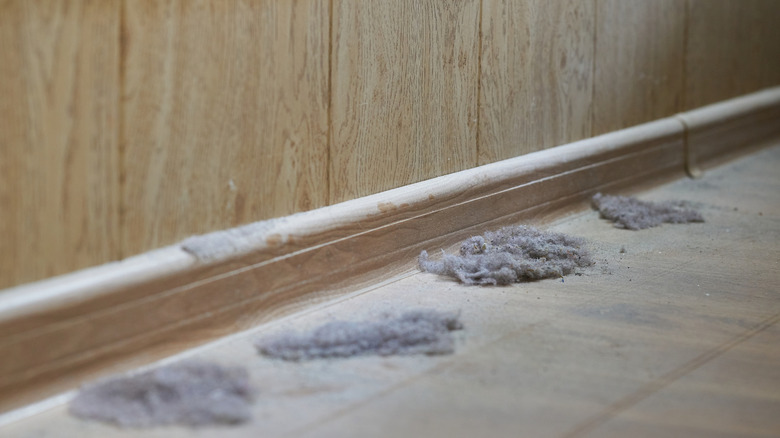
 After you’ve moved your furniture and checked for mold, the next step is to dust those boards down. Depending on your baseboard style, they might have little grooves or a flat edge along the top. Both of these are basically dust magnets, so if you jump straight to a wet cloth, you’ll end up pushing dirt around and creating streaks. That’s annoying, sure, but here’s the real problem: depending on how your baseboards are finished, that dirty water might soak into the paint, staining everything and forcing you to repaint.
You can use a regular duster, but Scott Benson recommends “using a vacuum with a bristled brush attachment to grab loose dust and debris.” Go slow and let the tool do its job. Work those bristles gently into any grooves and along the top edges. Once you’ve dusted the baseboards, vacuum the floor right next to them too. That way, when you wipe them down, loose dust won’t float back up and settle on your clean boards.
Do: Use a gentle cleaning solution
 New Africa/Shutterstock
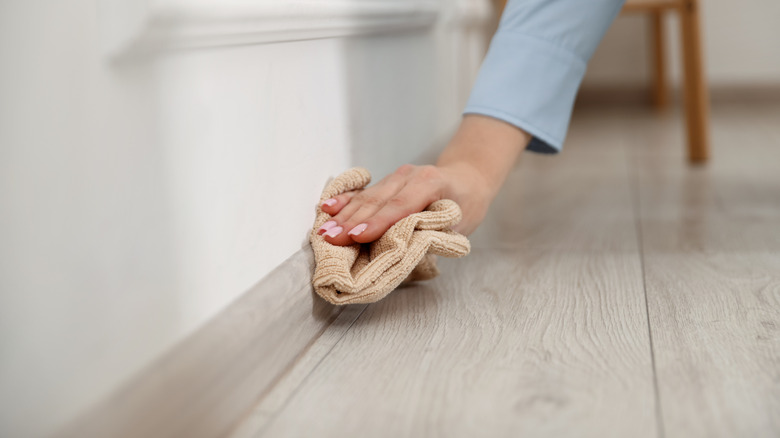
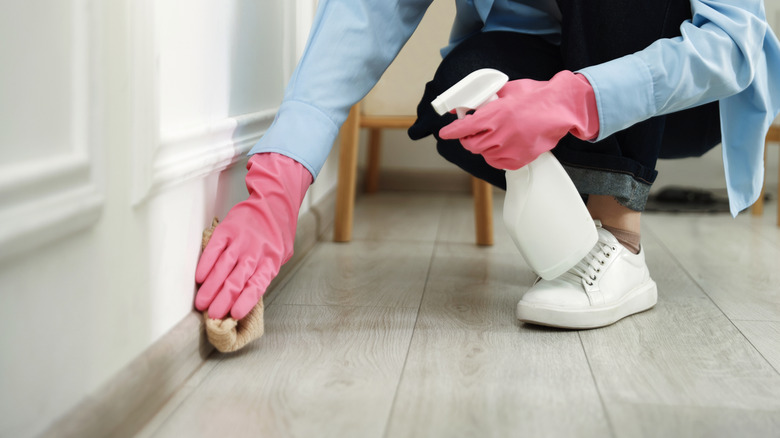
 Once your baseboards are all dusted up, it’s time for the real cleaning. Depending on how grimy they are, you might just need a damp cloth. But even if they’re really dirty, skip the strong chemicals. For instance, some people swear by foaming window cleaner spray for tackling tough stains. The catch? These cleaners are pretty harsh. Some foaming products actually warn that they shouldn’t be used on finished wood at all.
Good news though—you don’t need to buy fancy products to get great results. “A mix of roughly ¾ warm water and ¼ dish soap works great for painted baseboards,” explains Scott Benson. It tackles grime buildup without being so tough it damages your boards’ finish. Use warm water, and grab a microfiber cloth if you have one. This combo will handle surface dirt nicely without scratching or damaging your paint.
Do: Test any cleaning solution in an inconspicuous area first
 Antonio Gravante/Shutterstock
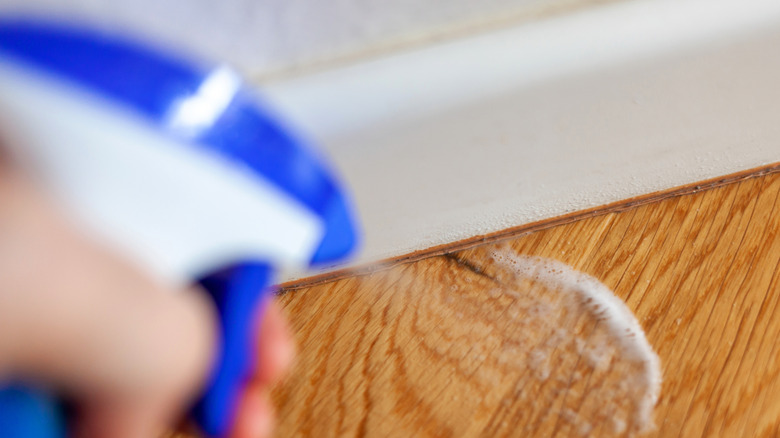
 Before using a specific cleaner on your baseboards, it’s smart to test it somewhere hidden first. Speaking with House Digest, Ashley Matuska Kidder, founder and CEO of a cleaning company, agrees with Scott Benson that soapy water is your safest bet. But if you’re using anything stronger than dish soap, testing is crucial. “This matters especially if you have painted or delicate wood trim,” notes Matuska Kidder. Testing a small, hidden spot first lets you see if the paint will run. And even on unpainted baseboards, if your cleaner has chemicals, you want to make sure they won’t leave stains.
The good news? Since you’ve already pulled furniture away from the walls, you have the perfect spot to test. Spray your cleaner on a small strip of board somewhere behind your couch and see what happens. If the finish looks cloudy or dull, or if color rubs off onto your cloth, then you know it’s not safe to use.
Don’t: Use harsh, abrasive scrubbers or scouring pads
 aomas/Shutterstock
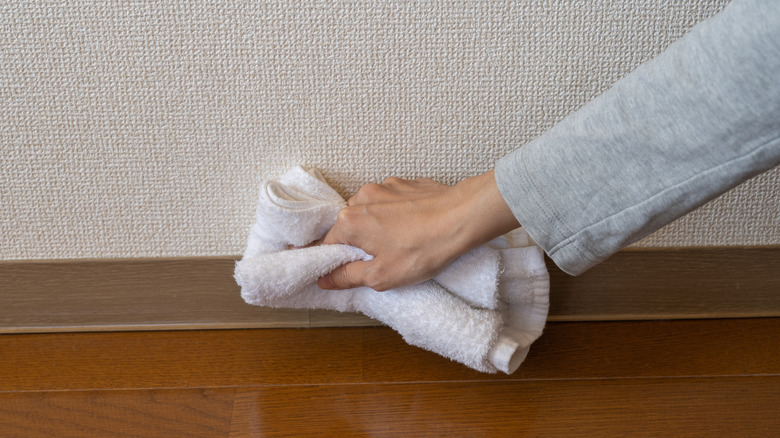
 Beyond watching out for harsh chemicals, pros suggest steering clear of tough scrubbers too. “These can scratch up the paint or wood finish on your baseboards real easily,” warns Ashley Matuska Kidder. To most people, that sounds pretty obvious. But when you’re facing layers and layers of grime and it’s been forever since you cleaned, it’s tempting to pull out the rough stuff.
Here’s a way to resist that urge: set up a monthly cleaning routine for your baseboards. This keeps dirt from piling up too much and makes it easier to clean with softer tools or a microfiber cloth. If you really need something stronger for stubborn marks and scuffs, Kidder says you can try magic erasers. “Just be gentle with them,” she cautions, “since they’re basically sandpaper and can strip off paint if you press too hard or scrub too much.“
Do: Try a steam cleaner (carefully) on stubborn marks
 New Africa/Shutterstock
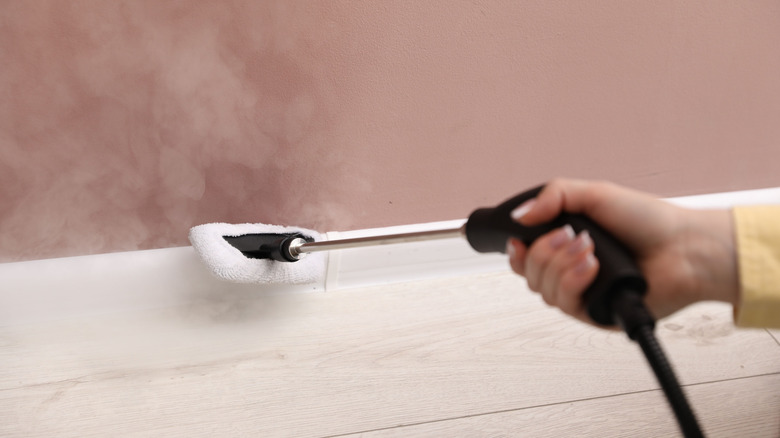
 In his chat with House Digest, Michael Bogoyavlenskiy, a cleaning pro, agrees that magic erasers work for getting rid of scuffs. But like Kidder, he points out that you can remove paint if you’re not careful. Instead, Bogoyavlenskiy suggests trying a steam cleaner, which he says “can lift the scuff without hurting the paint, so you can wipe it away.“
To get the best results with your steam cleaner, keep a couple things in mind. First, like we mentioned earlier, vacuum the dust off your baseboards and give the floor around them a quick once-over. Any loose dirt or dust will turn into a nasty paste when you hit it with steam. Second, “test the steam cleaner somewhere out of sight first just in case it damages the paint,” cautions Bogoyavlenskiy. The last thing you want is a blistered patch of paint showing up on your home’s most visible baseboards.
Don’t: Use too much water
 Zolak/Shutterstock
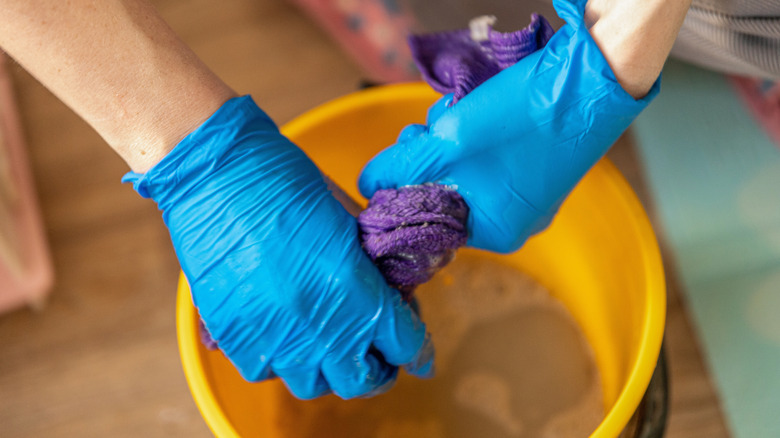
 Anyone who’s ever fixed a fence or refinished hardwood knows that wood and water don’t play nicely together. It’s an organic material that soaks things up easily, so water can seep in and cause warping. With your baseboards, “too much water can mess up the finish on wood or painted surfaces, and cause swelling over time,” warns Scott Benson. And things can get worse from there.
Once the wood swells, it won’t go back to how it was, and you might need to replace it. This is even more of a risk if your boards are MDF, because repeated soaking can actually make the layers separate. And remember, boards tucked away in dark spots behind furniture are already more likely to get moldy—and adding tons of moisture just makes that worse. To keep from drowning your baseboards, wring out your cloth really well before cleaning and make sure it’s just damp, not dripping. If water runs down the face of your boards when you wipe, that’s a pretty
Related Posts
A Hidden Countertop Option Worth Trying in Your Small Kitchen
Followtheflow/Getty Images Sure, we all love those gorgeous, sprawling kitchens you see on Pinterest, but…

Garden Shop Or Plant Store: What’s Best For Your Gardening?
Ronstik/Getty Images Honestly, I’ll buy plants from just about anywhere. A little roadside stand? Count…

Skip the Roses: Pretty Pink Blooms That Smell Amazing for Your Yard
Littlebee80/Getty Images Sure, roses are stunning and bring real beauty and romance to gothic, cottage-style,…