Paulinaok/Getty Images
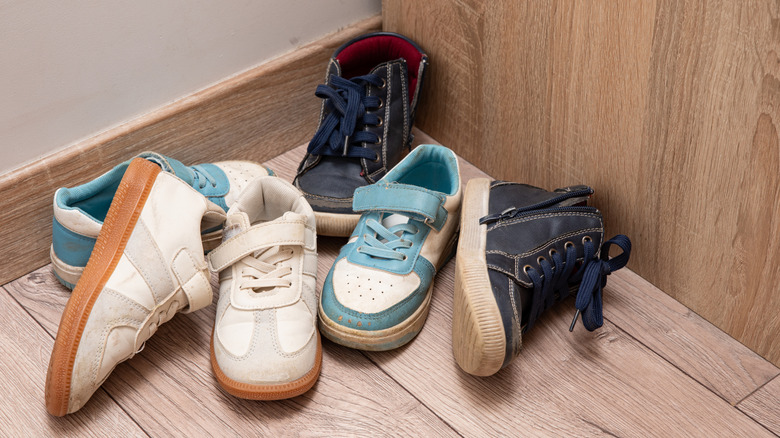
Lots of folks like to kick off their shoes in the garage at the end of the day to avoid tracking dirt inside. But that can lead to a cluttered mess – not to mention a tripping hazard on the stairs. Instead of just buying a plain old shoe rack, why not build your own custom one? This clever DIY shelf lets you adjust the height, so it’s perfect for holding all your footwear.
You’ll need a few ½-inch by 2-inch boards, plus some 10-inch by 10-inch square wooden panels that are 1 inch thick. Just cut the boards into 10-inch pieces, attach them to the wall, and slide the square shelves into place. It’s a quick project, nothing too complicated, and you can stain the wood if you want it to look extra nice. Plus, you can build a similar shelf for other rooms to hold books, plants, or other decor. Or if DIY isn’t your thing, you can always grab a ready-made organizer for the closet or laundry room.
How to build your shelf

First, cut your ½-inch by 2-inch boards into 10-inch pieces. You can use a table saw or hand saw, just be careful and wear eye protection. Line up the boards on the wall where you want the shelf, making sure the first one is level with the floor. Mark the wall for each board, spacing them 1 inch apart. Screw or nail the boards into the wall, then just slide the square panels into place.
When you’re done, it’ll look like a freestanding shelf – a nice little DIY project that can double as a conversation piece. If you’re feeling creative, you could build a similar shelf for other rooms to hold books, plants, or decor. Just add some extra supports if you plan on loading it up. But if this design isn’t your style, there are tons of other DIY shoe racks you could try. Or you can always buy a ready-made organizer to tuck in a closet or laundry room.