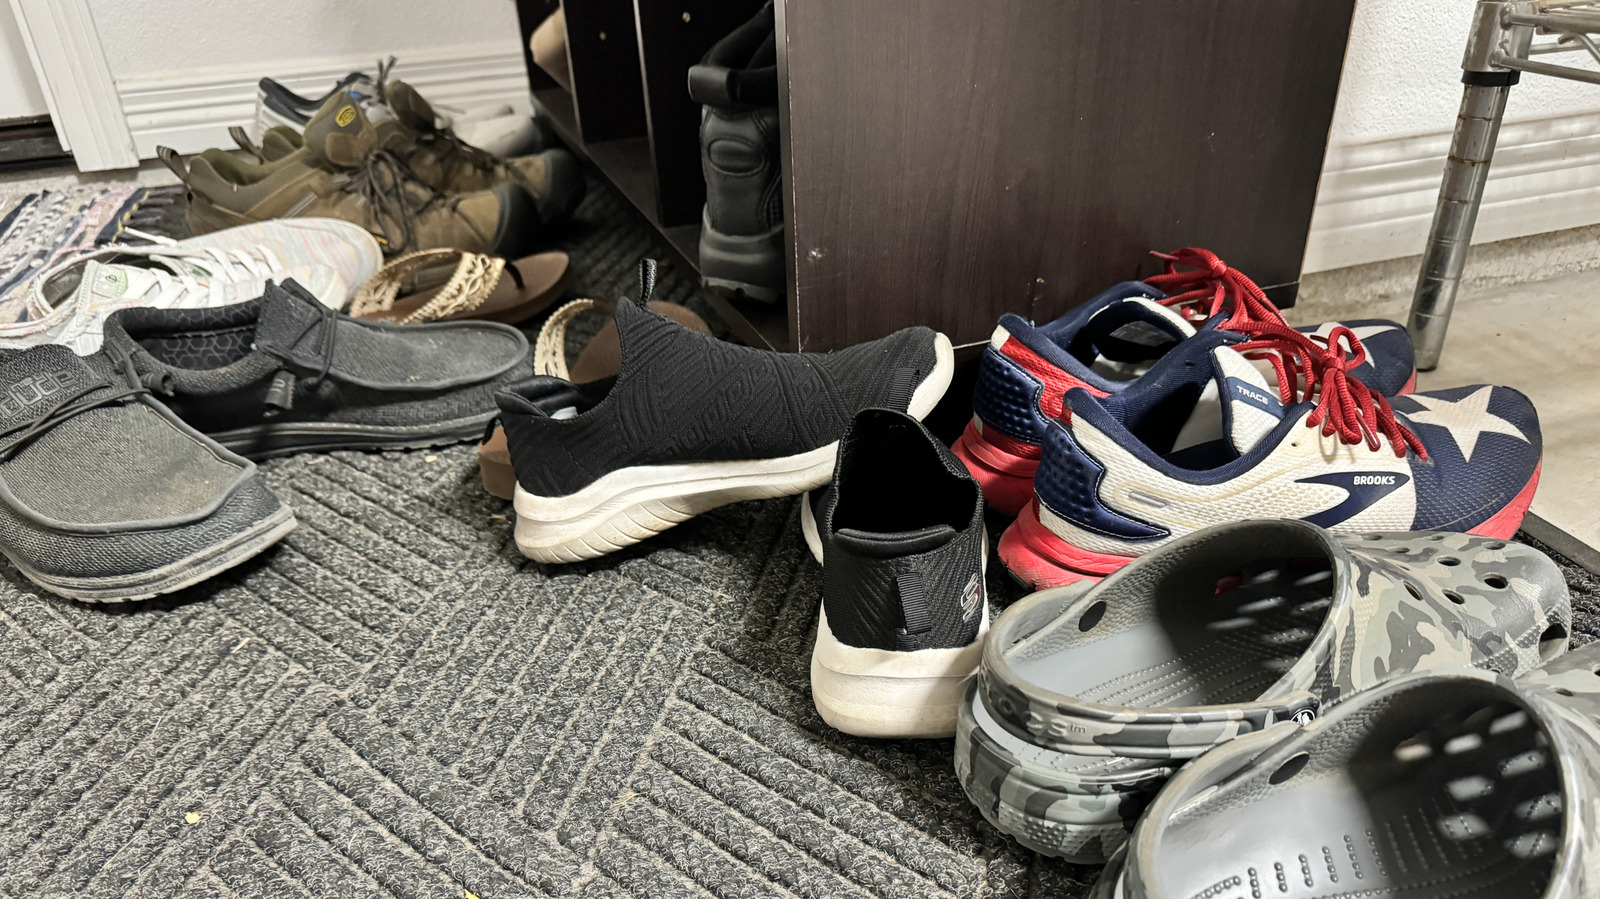
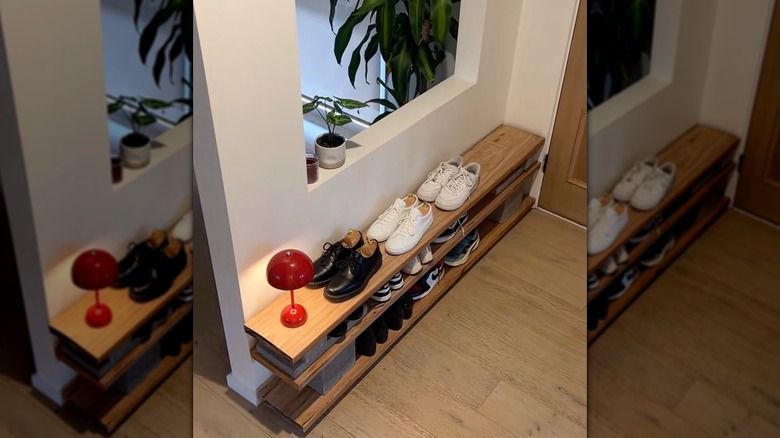
We may receive a commission on purchases made from links. Wow, a cluttered entryway can really stress you out, huh? Especially when those shoes start piling up at the bottom of the stairs. Not only is it an eyesore, but it’s also a tripping hazard. But no worries, you can easily fix that with a homemade shoe rack. And the best part? You don’t even need to go out and buy one – you can just use some cinder blocks and lumber you have lying around. It’ll take you less than an hour to put together, and it’s a great way to repurpose materials you already have. If you don’t have the supplies on hand, you can easily grab them from your local hardware store. The shelf can be two or three tiers tall, but I wouldn’t go any higher than that – we want to keep it nice and stable. Just use some basic rectangular pavers to elevate the bottom shelf, then stack your cinder blocks (or more pavers) on top. For the shelves, a 1x12x8 board works great, whether it’s new or leftover from another project. You may need to cut them to size, but the hardware store can usually do that for you. And if you want to get creative, you can even stain or paint the wood to customize the look. Building the shoe rack itself is actually the fun part – a little bit of simple carpentry. Just figure out how long you want your shelves to be, mark and cut the boards, then start assembling it on the pavers and cinder blocks. Play around with the configuration until you get it looking sturdy and stable. Then just find the perfect spot in your entryway, and voila – instant shoe organization! Melissa Kopka/Getty Images
How to assemble your shoe rack using cinder blocks and lumber
Okay, let’s walk through putting this shoe rack together. First, decide how long you want your shelves to be – that’ll depend on how much space you have and how many shoes you need to store. For this example, let’s go with a 4-foot wide shelf, and make it two tiers tall. Measure out one of your boards to 4 feet, mark it, and cut it. Repeat for the second shelf. Then you can stain or paint the boards if you want to spice up the look.
To assemble, start by placing some pavers on the floor. Put your first shelf board across them, then add a cinder block at each end. Stack another layer of pavers or blocks to get the height you want for the second shelf, then lay that board across the top. If you need to split the cinder blocks to make them shorter, just mark the halfway point, put your chisel there, and give it a few whacks with a hammer. The great thing is, you can play around with the configuration to get it just right.
When you’ve got your shoe rack all set up, find a nice spot in your entryway to put it, making sure it’s not blocking any doorways or walkways. Maybe even add a little plant or something on the top shelf to make it extra nice. And if this DIY version isn’t your style, no worries – there are lots of other shoe storage options out there, like baskets or pre-made racks.