Cooking up a storm on your stove? Don’t forget about what’s happening behind the scenes. That heat can do some serious damage to your walls over time – we’re talking dried-out studs, scorched drywall, and even hidden fires! Yikes. But no need to panic, there’s a smart solution: a tile heat shield. This specialized setup acts as a barrier to protect your home from all that high heat and fire danger.
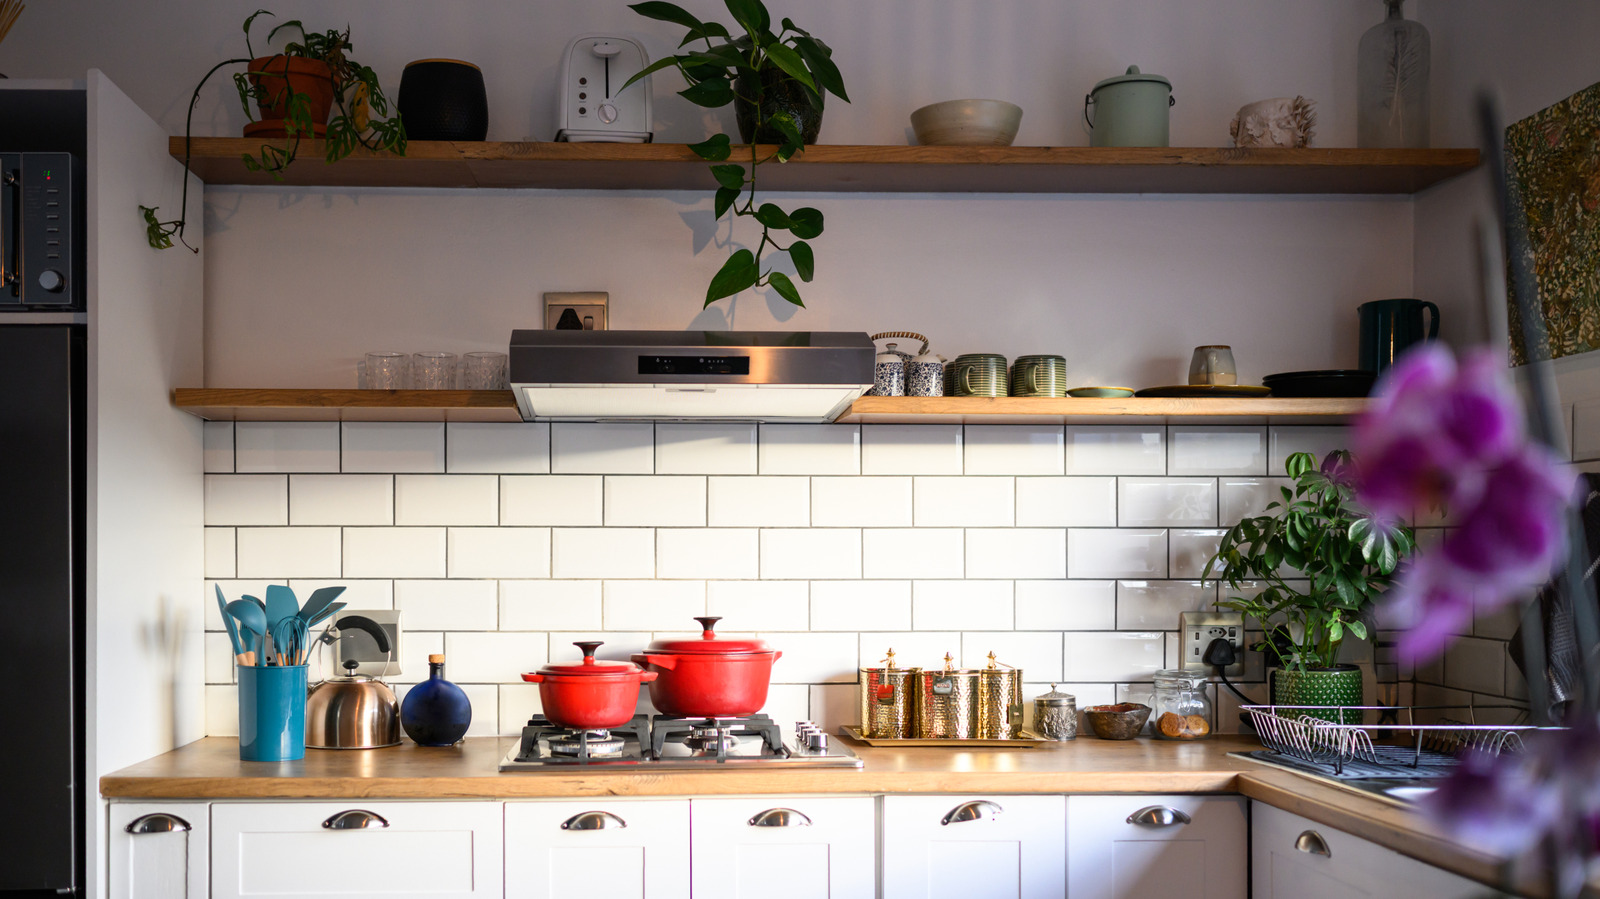
Instead of a regular old backsplash, a tile heat shield uses non-combustible materials like cement backer board and heat-resistant tiles. The backer board replaces flammable drywall, and the tiles are installed with a flexible mortar that can handle the thermal expansion and contraction without cracking. All this fireproof stuff is great at absorbing and dispersing the heat before it can do any damage. You’ll often see these heat shields behind freestanding stoves, keeping things nice and safe.
Not only are these materials tough enough to block the heat, but they’re also a breeze to clean up after a messy cooking session. And the best part? You don’t have to sacrifice your kitchen’s style. There are tons of gorgeous heat-resistant tile options out there in all kinds of colors and shapes. Just be careful to avoid common installation mistakes, like using the wrong tools or adhesive.
How to do a pro-level tile heat shield installation yourself
To set up your tile heat shield the right way, remember – no drywall allowed! You’ll want to use cement backer board instead, which is at least 3/4-inch thick and won’t rot or catch fire. Next, create a small air gap between the wall and the shield using ceramic or metal spacers. This gap should be at least 1 inch deep, with 1-inch openings at the top and bottom to help that hot air flow away. Secure the spacers to the wall studs, then mount the backer board onto the spacers. And make sure the whole shield extends at least 20 inches above and to the sides of the stove for full protection.
When it’s time to tile, don’t use regular old adhesive – that stuff can’t handle the expansion and contraction from the heat. Go with a flexible, polymer-modified thin-set mortar instead. It’ll keep your tiles firmly in place without cracking. And don’t forget to seal things up with a high-heat silicone caulk where the shield meets the countertop.
Take your time mapping everything out and cutting tiles precisely around outlets and range hoods. A super tight, well-sealed installation will keep grease and moisture from sneaking behind the shield, keeping your kitchen safe and squeaky clean. With the right materials and a little TLC, you’ll have a heat-proof setup that’s a breeze to maintain.