We may receive a commission on purchases made from links. A messy entryway can really stress you out, especially when shoes start piling up at the bottom of the stairs. Shoes aren’t just an eyesore – they can also make you trip and fall. But you can easily solve this problem with a DIY shoe rack. You don’t even need to buy one – you can make it yourself using just some cinder blocks and lumber, and it’ll take less than an hour. It’s a great way to repurpose materials you already have in your garage. If you don’t have the supplies on hand, you can pick them up at your local hardware store. This shelf can be two or three tiers high, but I wouldn’t go any higher than that – you want to make sure it stays nice and sturdy. Use basic rectangular pavers as the supports for the bottom shelf, then stack cinder blocks (or more pavers) on top for the upper shelves. Grab a hammer and chisel if you want to break the blocks in half to make smaller supports. For the shelves themselves, a 1-inch by 12-inch by 8-foot board is perfect – use a new one or recycle some leftover boards you have. You may need to cut the boards to size, so have a measuring tape, pencil, and saw handy. If you want to get a little fancy, you can stain or paint the wood to give it a custom look. Putting the whole thing together is actually the fun part – it’s a simple carpentry project. First, figure out how long you want your shelves to be based on how much space you have and how many shoes you need to store. For this example, we’ll make a 4-foot wide, 2-tier shelf. Cut your boards to 4 feet, stain them, and let them dry. Then, just place the pavers on the floor, put the first board across them, and add the cinder blocks (or pavers) at each end to support the second shelf. You can play around with the configuration to get the right height between the shelves. Just make sure it’s nice and stable when you’re done. Put your new shoe rack right by your front door, but not in a spot where it’ll block the doorway. For a little extra style, add a plant or something on the top shelf. Or if this DIY isn’t your thing, there are other easy options like a plastic basket shoe rack.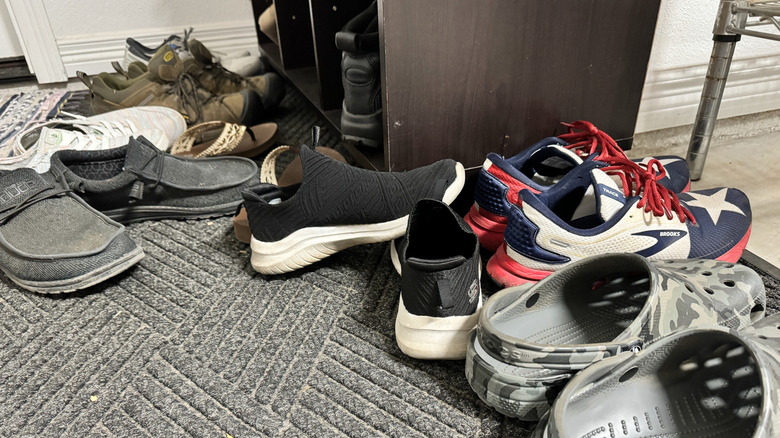 Melissa Kopka/Getty Images
How to assemble your shoe rack using cinder blocks and lumber
Putting the shoe rack together is actually the fun part – it’s a simple carpentry project. First, figure out how long you want your shelves to be based on the space you have and how many shoes you need to store. For this example, we’ll make a 4-foot wide, 2-tier shelf. Measure one board to 4 feet, mark it, and cut it. Do the same for the second shelf. Then stain the boards and let them dry.
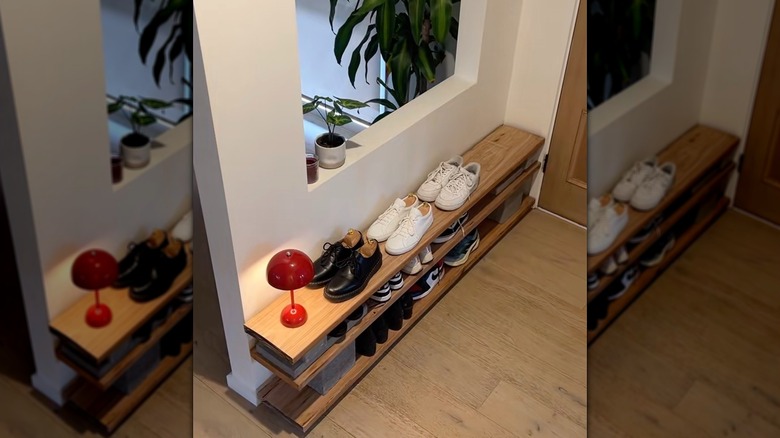
To assemble the shelf, start by placing the pavers on the floor. Put the first board across them, then add a cinder block (or more pavers) at each end to support the second shelf. You can play around with different configurations to get the ideal height between shelves – just make sure it’s sturdy when you’re done. If you want to make the cinder blocks smaller, just mark the midpoint, place a chisel on that line, and give it a few whacks with a hammer.
Put your new DIY shoe rack right by your front door, but make sure it’s not blocking the doorway. For a little extra style, add a plant or something on the top shelf. And if this project isn’t really your thing, there are plenty of other easy options like a plastic basket shoe rack.