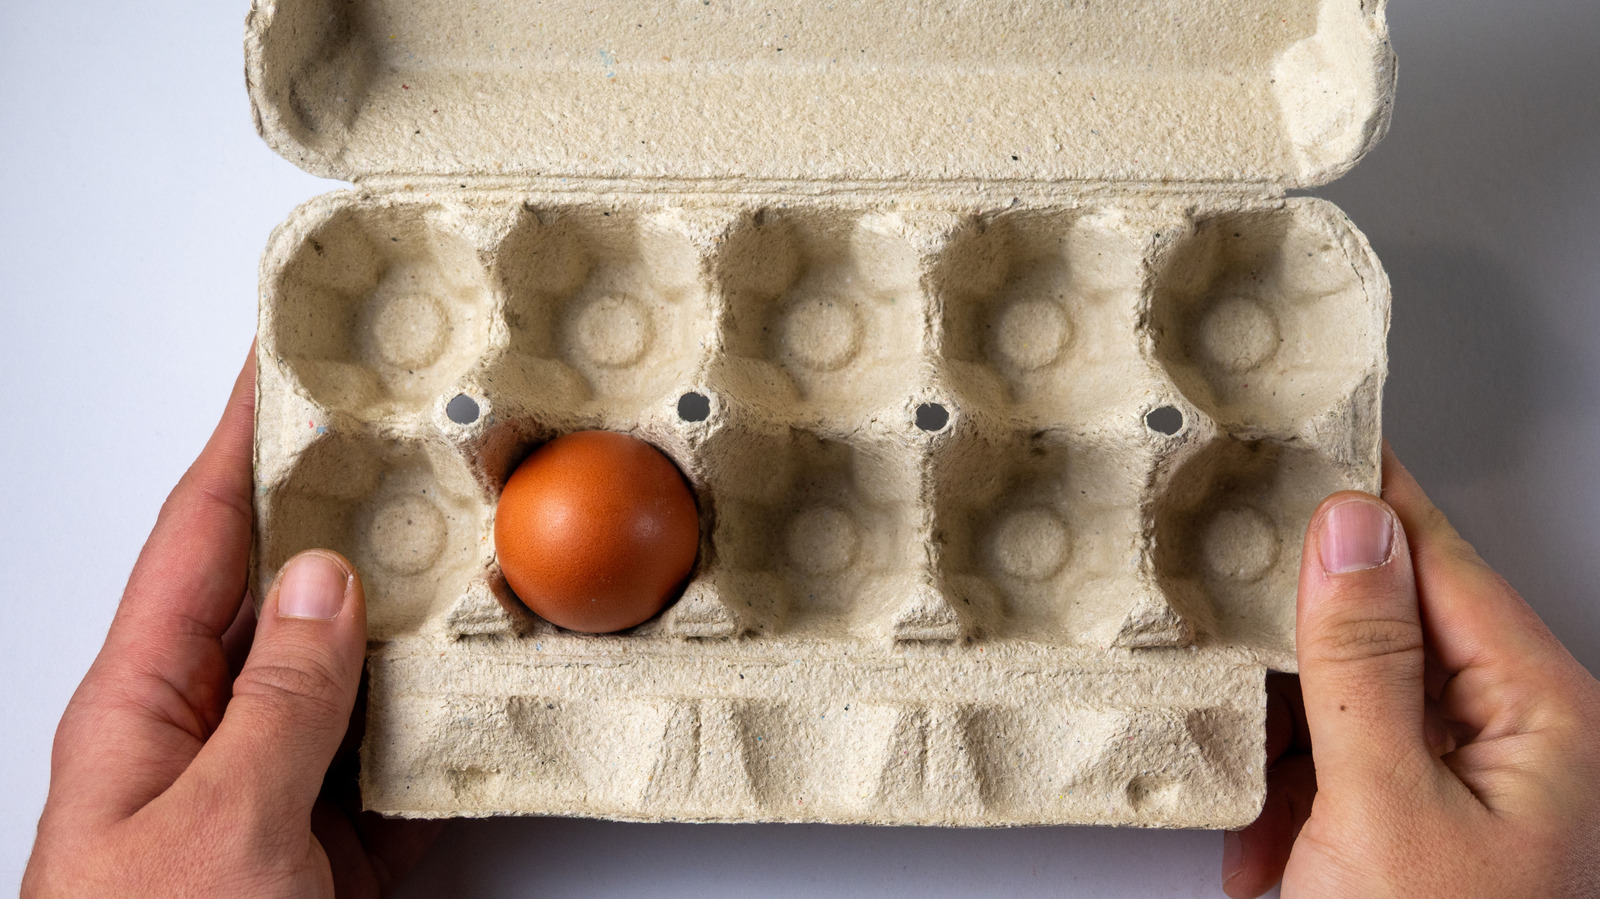
Think egg cartons can’t turn into a fancy-looking planter? Think again! This surprisingly simple DIY project creates a gorgeous, one-of-a-kind flower pot that’ll have everyone asking where you got it. Here’s what you’ll need: a five-gallon bucket, cement, river sand, some wire, a PVC pipe, a metal ring, and several egg cartons. Grab four 60-count cartons if you want to speed things up and save space. The best part? River sand is perfect for this because cement won’t stick to it, so you can scoop it out once everything dries to reveal those beautiful cavities. And the budget-friendly price tag? You’re looking at less than $50 in materials since cement, sand, and a bucket are your main purchases. This awesome project comes from @woodcraftkk on . By filling egg cartons with cement, you’ll create those decorative rounded studs that make the planter so special. Since cement is the star of the show here, you get a super durable pot that works perfectly inside or outside. Want to save even more cash? You could skip some steps to bring costs down. Just keep in mind that once it’s done, this planter gets pretty hefty, so moving it around isn’t exactly easy.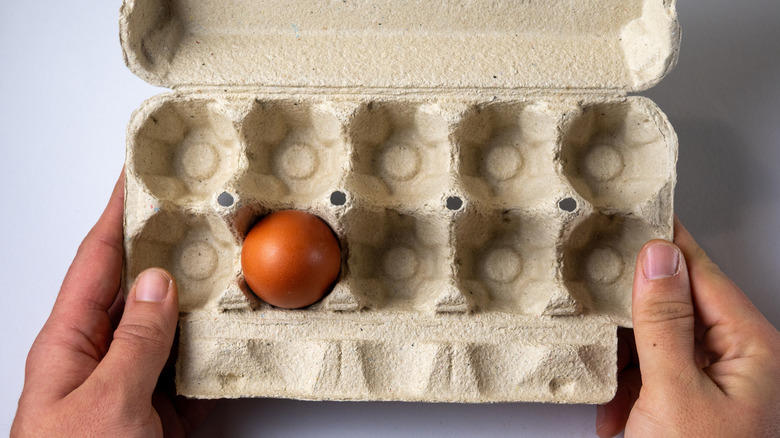 Mehes Daniel/Shutterstock
Creating your custom egg carton planter
Start by pouring cement into the bottoms of your four egg cartons. Grab a five-gallon plastic bucket and a large metal ring—aim for one that’s about nine or ten inches across, or at least two inches smaller than your bucket. Pop the bucket on the ground and place your metal ring inside it. Fill that ring with wet river sand. Once it’s full, carefully lift out the metal ring. The sand should stay put just like a sand castle! Now pour cement into the gap between the bucket and your sand cylinder until it matches the sand level. Add another cement layer, then pop a wire in there to strengthen your pot. Go ahead and add one more cement layer if you’d like.
Next up, place a PVC pipe on top to create the stem of your planter. It can be thick or thin, tall or short—whatever you like! Just make sure it’s sturdy enough to handle the pot’s weight. Fill around the pipe with river sand, then pull the pipe out. You’ll be left with a nice cylinder hole. Take two wires and bend them into “L” shapes, then stick them in that hole for reinforcement. Fill the hole with cement, then finish filling the rest with cement to complete your base.
Finishing touches
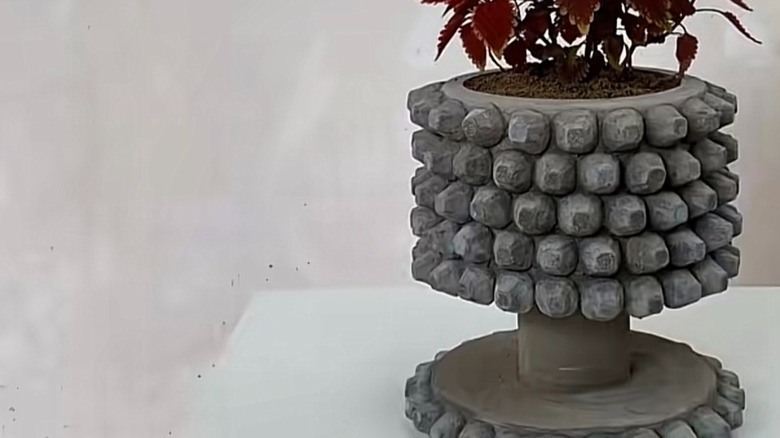
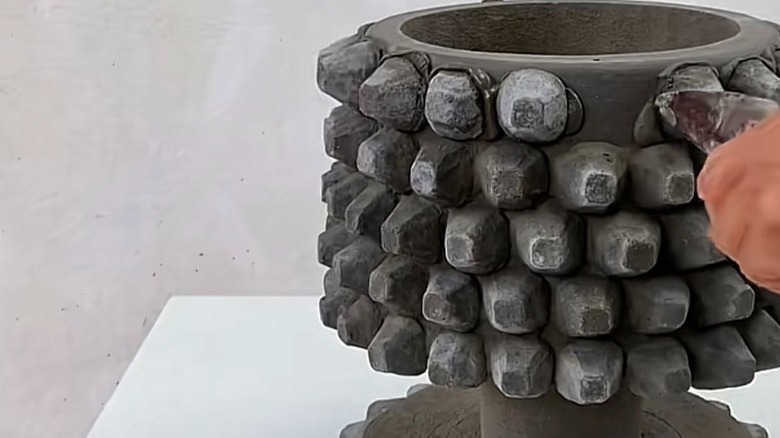
Once your cement’s nice and dry, remove those egg cartons and use hot water to get the plastic bucket off. Dig out and clear away all the river sand to reveal your planter. Give it a good rinse to get rid of any leftover sand or dust. Next, use fresh cement to stick your egg carton molds onto the planter for that textured, bumpy look. Arrange the smaller cement pieces in neat rows and use a knife to clean up any extra cement paste. And just like that, your planter’s ready for plants!
Want to make this affordable planter look extra fancy? You’ve got options! Try using colored cement to skip the plain gray look. When you’re making those egg carton pieces, you could use fewer of them and mix up the pattern instead of covering everything. And hey, that thin stand in the middle? It’s totally optional! You can stop after adding the cement layers over the first wire if you’d rather keep things simple. One more thing to think about—add drainage holes to the bottom using a smaller pipe (about an inch or two wide) filled with river sand, or drill some holes once the cement’s all set.
Loving this project? Check out more DIY concrete planter ideas to keep the creativity flowing. And if you’re wondering what to plant in your new creation, we’ve got some perfect suggestions for you.