Decorating your space with photos and frames is such a fun way to add personality and memories to your home. But let’s be real – getting those pictures up on the wall can be a real headache. Luckily, there are some clever tricks to make hanging photos a total breeze. You probably have a bunch of these handy household items already, so you can try them out the next time you’re ready to spruce up your walls. For example, did you know you can use toothpaste to mark exactly where you need to hammer in that nail? Or that you can use string, magnets, and even a fork to make the whole process way easier? These little hacks can save you a ton of time and effort, and help you create a gallery wall you’ll love looking at every day.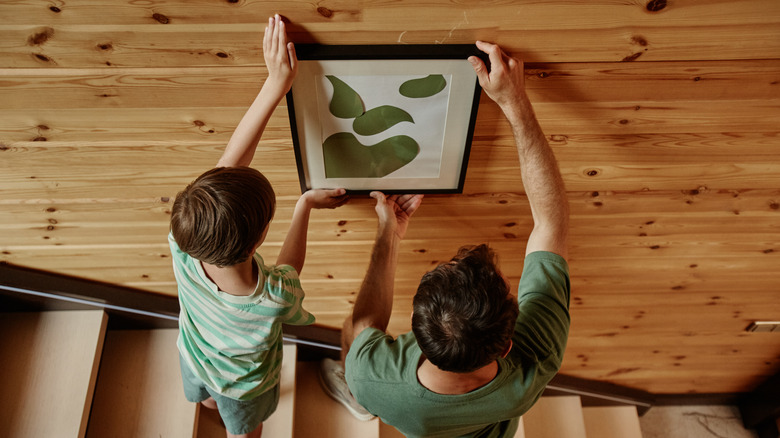 Seventyfour/Getty Images
Squeeze some toothpaste

Trying to get that nail hole in the perfect spot can be a real pain. Instead of guessing and ending up with a bunch of unnecessary holes, just dab some toothpaste on the back of your frame and press it against the wall. The toothpaste will leave a mark exactly where you need to hammer. Then you can easily wipe it off and you’re good to go!
Try adhesive magnets

If you don’t want to deal with nails and hammers, you can use adhesive magnets to hang your photos instead. Just stick one magnet to the wall and another on the back of your frame, and voila – you’ve got a super easy, adjustable way to display your art. Just be sure the magnets are strong enough to support the weight.
Grab some string
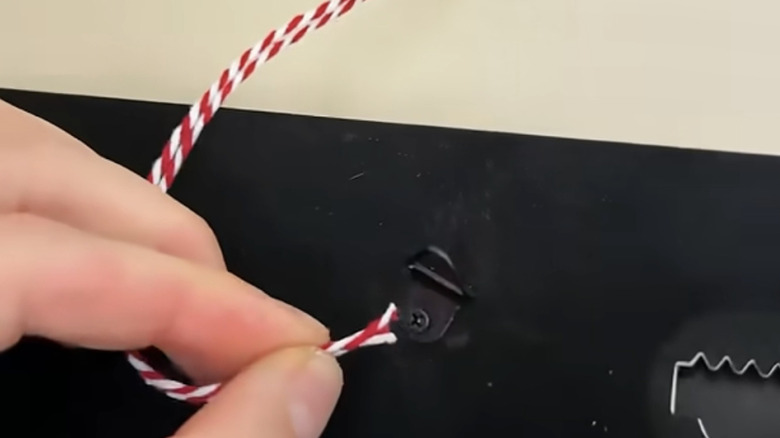
Instead of blindly trying to line up the frame and the nail, use some string to guide it into place. Tie one end around the nail, feed the other end through the frame’s hanging hardware, then slide the frame up the wall until it rests perfectly on the nail. Pull the string out and you’re all set!
Use painter’s tape
For frames with multiple hooks on the back, getting the nail holes perfectly spaced can be tricky. Use painter’s tape to map it out – just stick the tape to the back of the frame, poke holes where you need the nails, then transfer the tape to the wall. Boom, perfect nail placement every time.
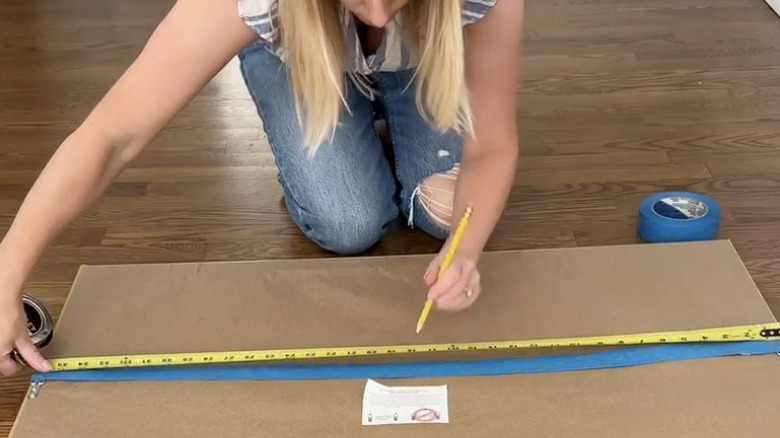
Create a paper template

Planning out a gallery wall can be a real headache. Make it easy on yourself by tracing your frames onto some large paper, cutting them out, and taping them to the wall. Then you can play around with the layout before committing to any nail holes. Super handy!
Make a paper dust catcher

Drilling holes in the wall tends to create a big ol’ mess of dust. But you can easily avoid that by taping a piece of paper or an envelope underneath the drill spot to catch all the debris. Easy peasy!
Use a fork

Hanging frames with wire on the back can be tricky – you have to line up the nail just right. But you can use a fork as a guide! Just hang the fork on the nail with the handle facing up, then slide the frame down over the fork and remove it. Voila, perfectly hung photo every time.
Repurpose a zip tie
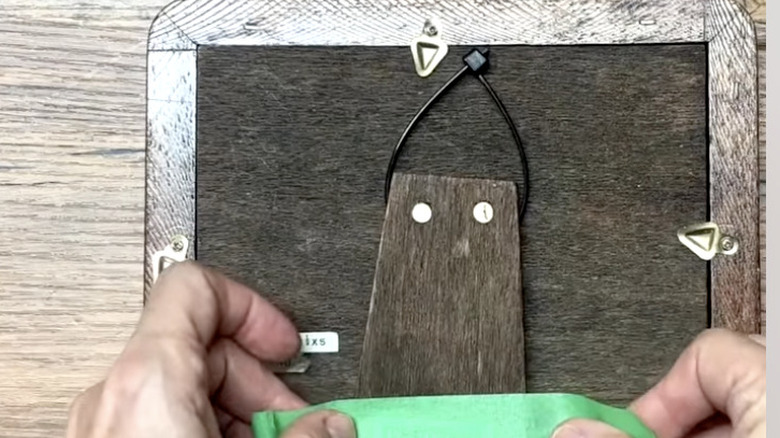
Don’t have a hanger on your picture frame? No problem – just make one with a zip tie! Loop it over the frame’s stand, trim off the excess, and tape down the stand so it’s flush against the wall. Easy DIY hanging solution!