Bowonpat Sakaew/Shutterstock
We may receive a commission on purchases made from links.
Hey there, fellow gardeners! Back in the day when I was just starting out, I had to get creative with container gardening since I was a renter. But you know what? Even as a seasoned Master Gardener, I still love growing edibles in planters. It’s just so darn convenient, plus no weeding required! And let me tell you, kale is one of the best veggies to grow in pots. With the right setup, you can enjoy a bountiful harvest without a ton of effort.
Kale is a real champ when it comes to container gardening. As a hardy member of the brassica family, it’s not too picky about soil conditions and can even handle a bit of shade. Plus, it comes in all sorts of fun varieties, like the classic curly kale, the trendy lacinato, and the unique Chinese and Russian types. No matter which one you choose, they’ll all thrive in a pot thanks to their compact size and similar growing needs.
What you need to know about growing kale in a pot
meechai39/Shutterstock
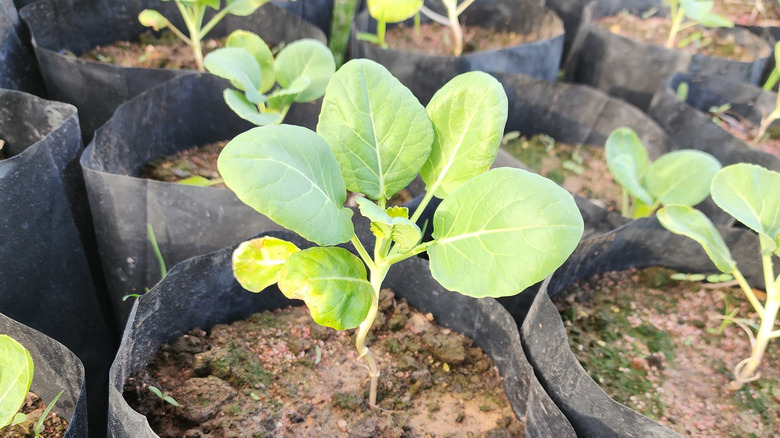
Kale is a pretty easygoing plant when it comes to light, but it does like at least 4 hours of direct sun per day to really thrive. And since it can grow up to 3 feet tall, you’ll want a planter that can support its root system without getting top-heavy. A 5-gallon bucket is a budget-friendly option, or you can go for a set of 4 planters on Amazon for less than $7 – super affordable! If you’re looking for something a little fancier, a 15-inch planter works great too.
Once you’ve got your pot set up with some high-quality, well-draining potting soil, it’s time to get planting! You can either sow 3 seeds about 1/4 inch deep or transplant a single seedling in the center of the pot. Just make sure to water it in well after planting.
Maintaining and harvesting your potted kale throughout the year

Photour1904/Getty Images
Kale is a cool-weather champ, so it does best when you grow it in the spring, summer, and fall. Just keep an eye out for any pests like spider mites or aphids and treat them accordingly. You’ll also want to fertilize regularly with a high-quality plant food, following the instructions on the package. And be sure to keep the soil consistently moist, but not soggy, throughout the growing season.
If you’re lucky enough to live in a mild climate, you might even be able to harvest your kale right through the winter. While many greens wilt in the summer heat, kale just keeps on going, though it can get a bit bitter when it’s really hot and humid. My favorite trick is to plant it in the spring, let it grow all summer, then start harvesting the leaves when the soil temperature drops below 65 degrees Fahrenheit – that’s when you get the sweetest, most delicious kale.
One important thing to know about kale is that it’s a biennial, meaning it’ll bolt and go to seed in its second year. As the weather warms up the following spring, your kale will start flowering and producing those pretty yellow blooms. The leaves will become inedible as the plant focuses on making seeds. But don’t worry, you can still harvest the fresh green pods – they have a similar flavor to fresh green peas. And if you leave some pods on the plant until they’re dry, you can even collect the seeds to plant again next season.