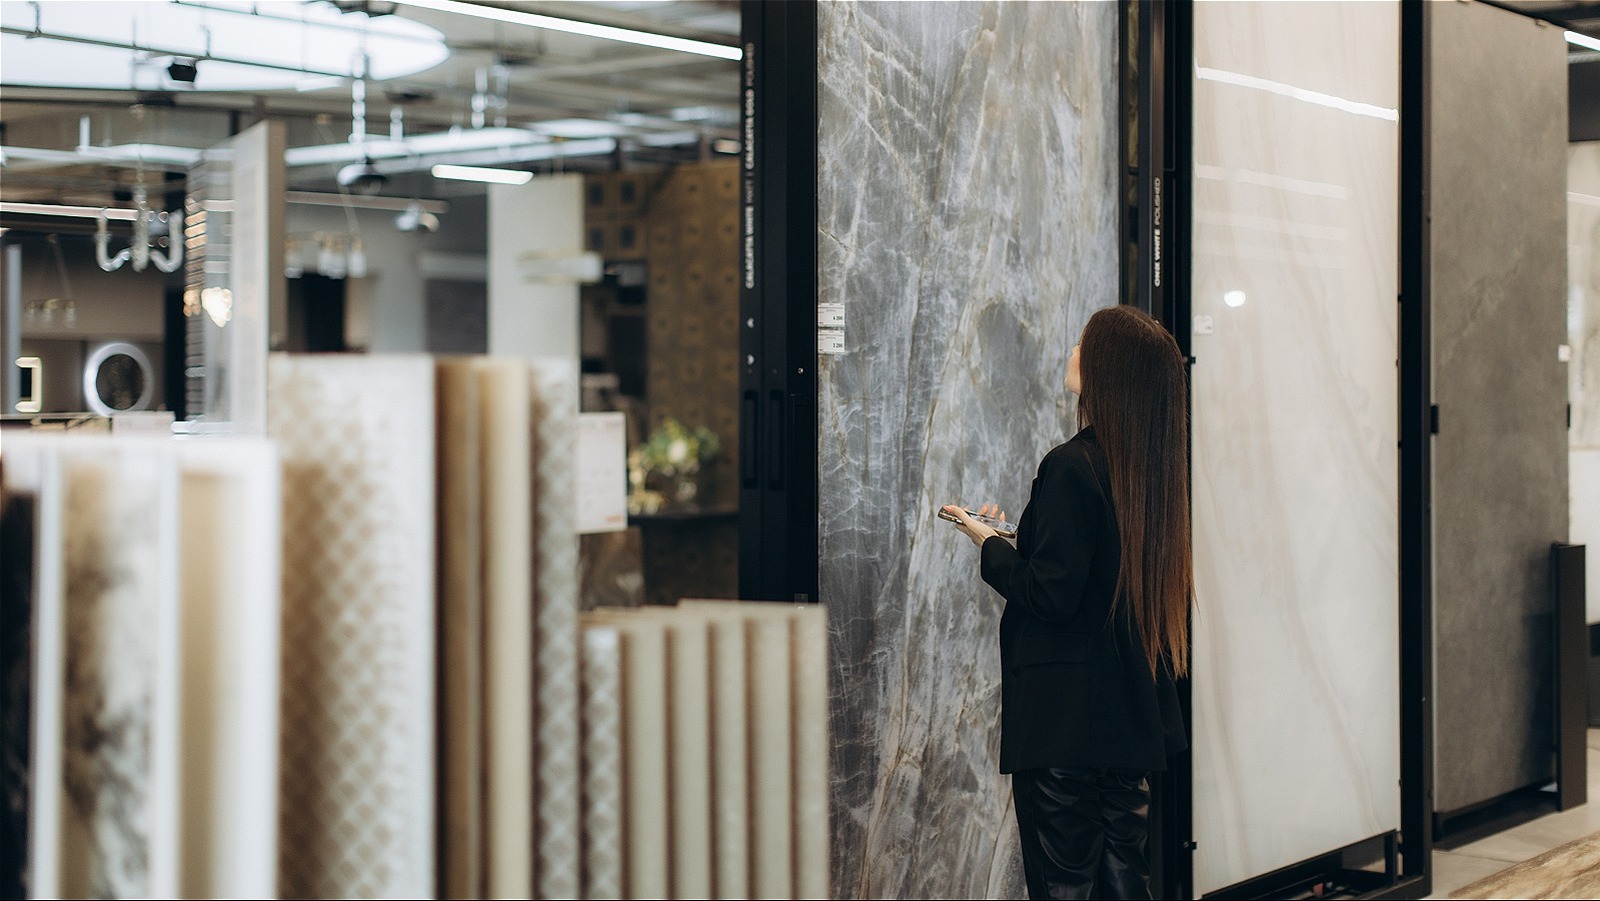

Ekaterina Ilchenko/Getty Images
Okay, so painting your tiles can be a pretty nifty way to refresh your bathrooms or kitchen without a full-on remodel. It’s quick and convenient. But if you’re not careful, you can run into some issues. If the paint keeps peeling or chipping off, it’s probably because you didn’t prep the surface properly or used the wrong kind of paint. To make sure the paint lasts, you’ve gotta get rid of any dirt, use a bonding primer, and only use paints made specifically for tiles, like epoxy or oil-based ones.
You may have heard that painting can turn an old, dingy bathroom into a nice, serene retreat, but the process can actually be trickier than it sounds. Just grabbing any old paint off the shelf and slapping it on your tiles usually won’t cut it.
The biggest reason paint doesn’t stick is if you don’t clean the tiles properly first. Any kind of dirt, food residue, mold, or grime on the surface can mess with the adhesion and make the paint wear out a lot faster. It’s a crucial first step you can’t skip. But you also want to fix any cracks or chips in the tiles before painting. And don’t forget to clean the grout too, since it can trap mold and stains.
You’re not preparing the surface well (or not applying bonding primer before painting)
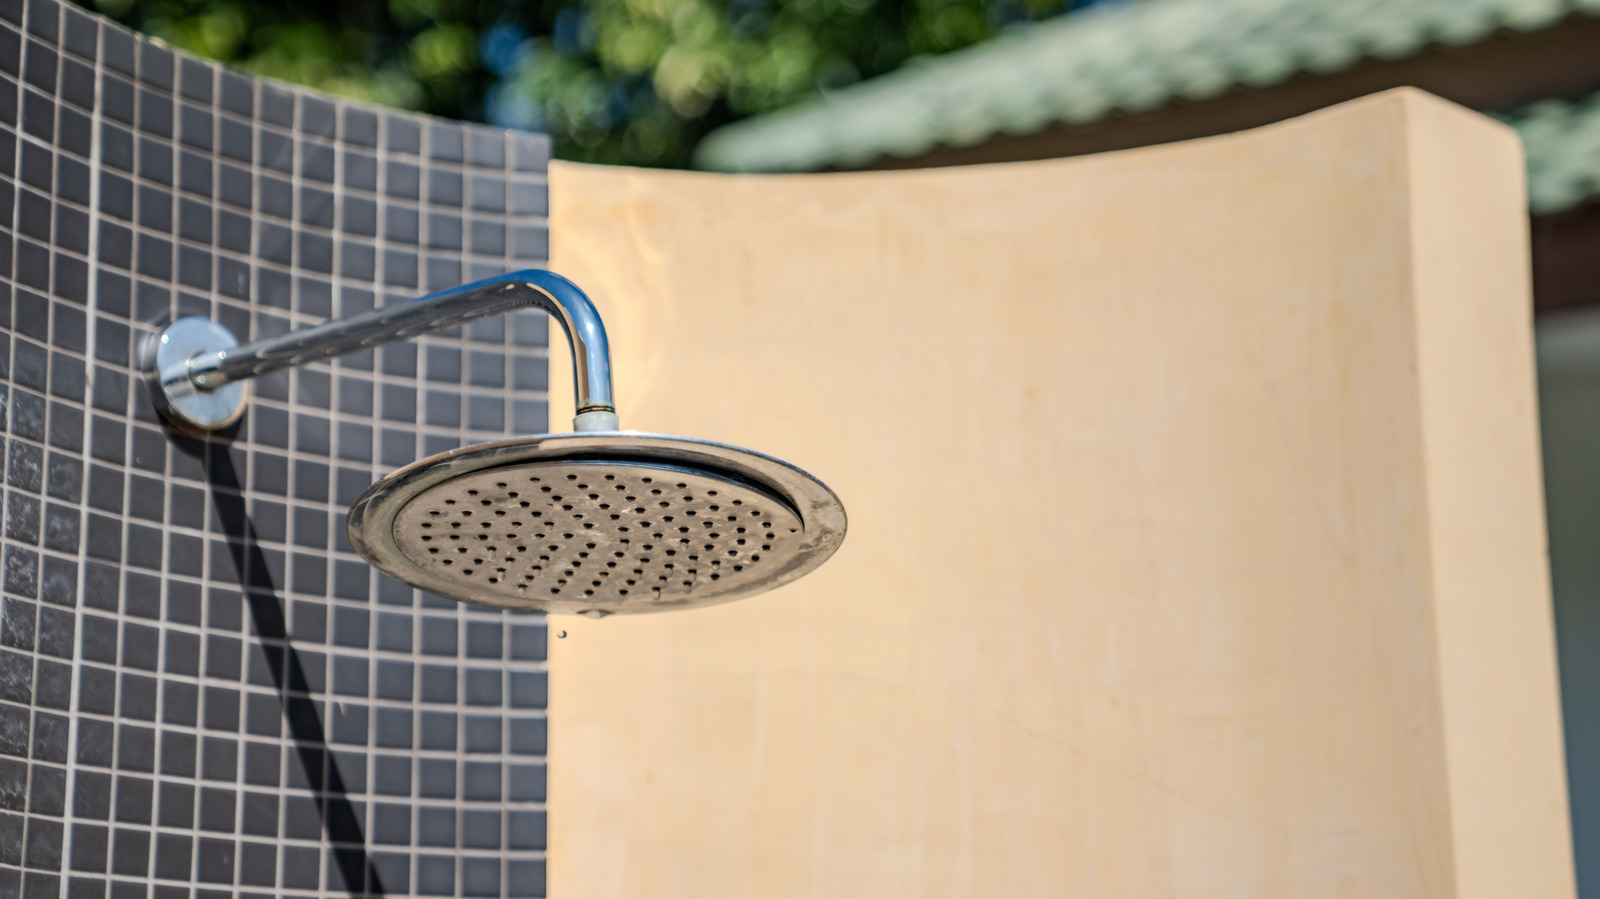
Harriet Vasey/Shutterstock
Ordinary paint has a hard time sticking to tiles because of the shiny, glazed surface. That glossy finish actually repels water and dirt. So before you start painting, you’ve gotta sand down the tiles to rough up that smooth surface and make it more paint-friendly. You can use 100-grit sandpaper or an electric sander, just be gentle so you don’t damage the tiles. Sanding also helps get rid of any sealants. Then wipe everything down to clear away any grit from the sandpaper.
Another huge mistake is not using a bonding primer. This special type of primer helps the paint really grip onto the tile and prevents it from chipping or peeling down the line. The primers made for tiles have adhesive resins that form a strong bond. Once your tiles are clean and dry, apply the primer. Make sure you wear gloves and a mask for safety, and give each coat time to fully dry before adding another.
You’re using the wrong type of paint

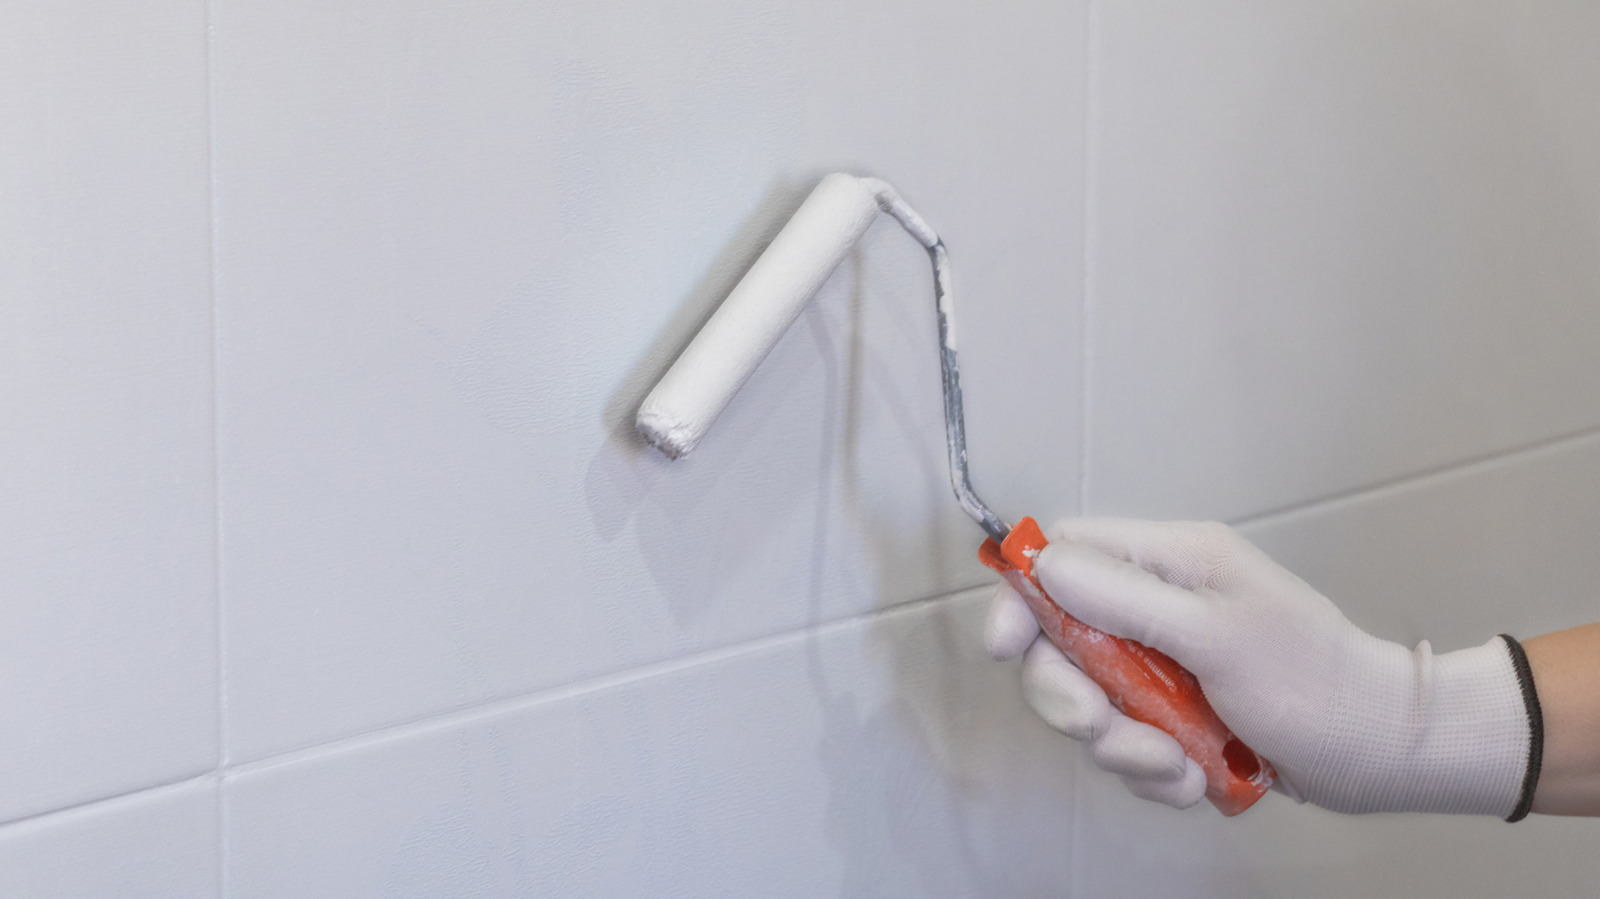
Sergey Spritnyuk/Shutterstock
Using the wrong paint can really undermine your tile painting efforts. Water-based paints just don’t hold up well. But you can’t just use any old regular paint either. For the best results, look for epoxy or enamel paints. They’re made to resist moisture and last a lot longer on tiles. Enamel is easy to apply and super durable, though it does release some fumes, so be cautious. Epoxy paints are awesome for bathrooms and kitchens since they can withstand a lot of abuse and cleaning products. Silicone-based paints are good options too. You can even find specialty tile paints designed to handle the moisture in these high-humidity rooms.
One other thing – don’t rush the process. Let the paint fully cure for at least 24 hours before using the area or re-grouting. Using water too soon can mess up the drying time. And speaking of high-traffic areas, painting tiles in spots like bathroom floors is usually not worth the effort – the paint just can’t stand up to all the wear and tear from shoes, pets, and dropped objects. You’re better off just replacing the tiles in those high-impact zones.