
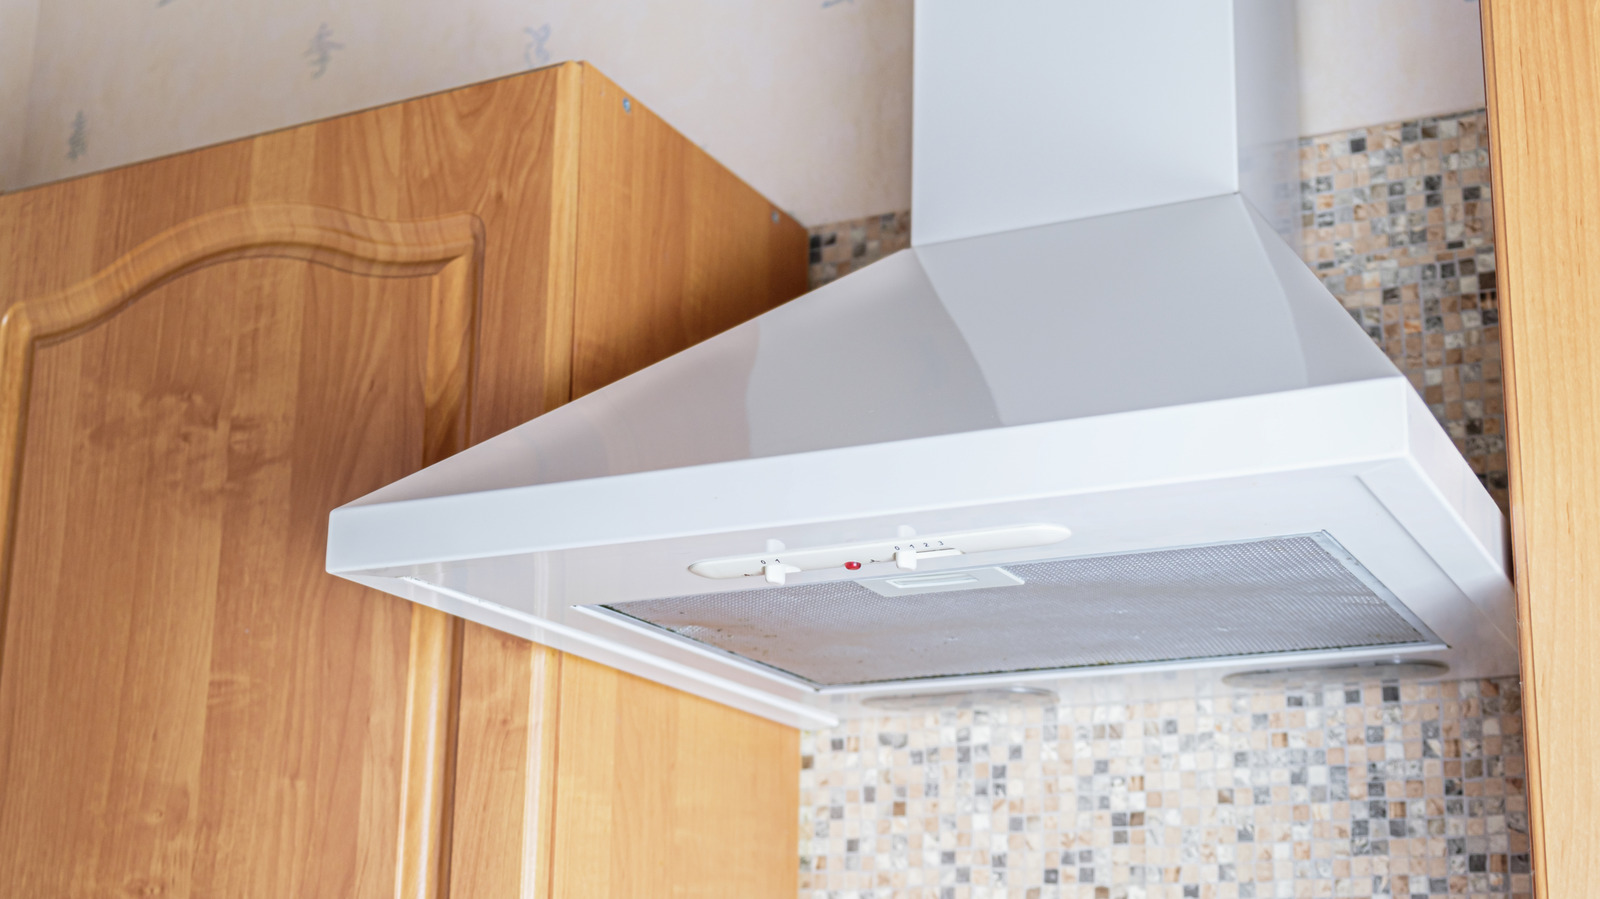
Sure, traditional range hoods do an important job in the kitchen, but let’s be real—that exposed style can look pretty bulky. Here’s the thing: range hoods eat up wall space that you could actually use for something way more useful above your stove. The good news? There’s a cool old-school DIY trick that sneaks in extra storage while hiding that clunky hood from view. Installing a natural stone archway brings that cozy, rustic vibe to your kitchen while giving you space to stash spices, cookbooks, and whatever else you want tucked away. Plus, natural stone just works—you get both style and function. Here’s the best part: you don’t need fancy stone bricks or to call in the pros to make this happen. Instead, grab a wooden frame to wrap around the hood (it doubles as your shelving frame), then use natural stone tiles to cover the whole thing so it looks like an expensive stone archway. You’ll pull it off on a budget that won’t break the bank. Even better? This project is totally doable solo or with a buddy helping out.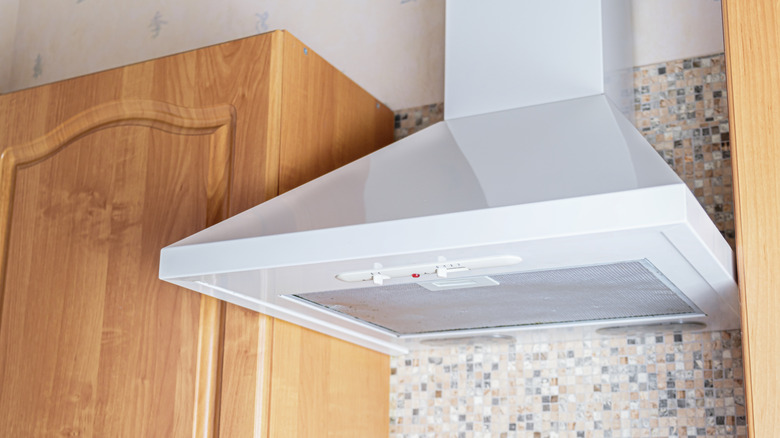
Skip Your Range Hood: Build An Old-Fashioned Shelf To Gain Kitchen Space
Building the frame for your stone tiled range hood

To create this DIY stone archway around your range hood, you’ll probably need to take out your current hood first and reinstall it once the frame is ready. The framing is where everything happens—it’s super important. Those natural stone tiles are seriously heavy, and you’ll want your shelving to be rock-solid for holding glasses or books. Start by sketching out a design that takes into account not just the frame for the hood and shelving, but how all that weight gets supported too. You’ve got two solid options: build the arch so it sits on your counters and anchors to the wall, or hang it from the wall studs. Either way, use heavy-duty mounting hardware like lag bolts to lock everything down to those studs.
Measure everything so you end up with square or rectangular boxes on the sides, top, and bottom. Make sure there’s a wood box that sits perfectly flush against your new hood. Pop vertical supports every 24 inches to keep the frame sturdy enough to handle all that stone weight. Want some bonus storage? Throw shelving on the sides of your arch frame. When you’re putting it together, think about using brackets that match your style. To finish the arch frame, use a piece of wood that’s got a right angle on one side and a smooth curve cut on the other for each corner. The last prep step is nailing down some cement board to the front of the frame—this is what your stones will stick to.
Time to tile: adding the stones to your archway
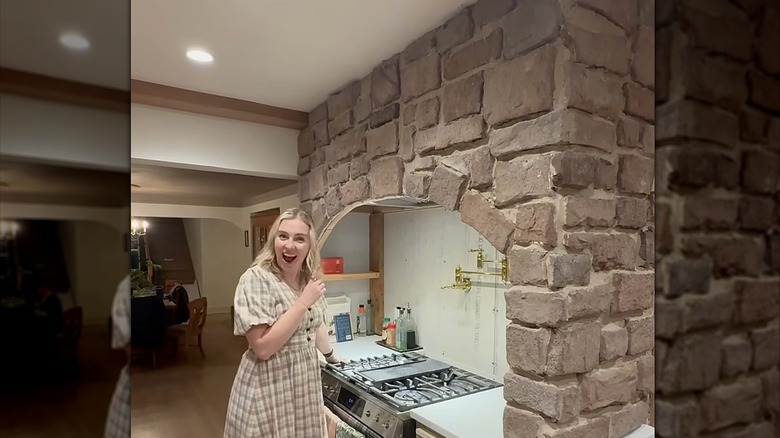
Now comes the fun part—laying down those stones to complete your look. You might think that after all the measuring and building, the stone part would be a breeze, but here’s the catch: this is actually where things can get tricky. It’s not physically hard, but mixing your mortar incorrectly? That can get messy and expensive real fast. Do yourself a favor and look into how to prep your mortar before you dive in. The specific mortar you pick depends on what materials you’re using for the rest of your project.
To lay the stone, grab some spacers and mortar. Mix up your mortar following the package directions until it’s nice and moist—think peanut butter consistency. Spread a thin layer onto the cement board, then slap a thicker layer right on the back of each stone. Press it firmly exactly where you want it, working from the bottom up. Wipe away any extra mortar that oozes out. You might want to use a temporary board at the bottom to prop everything up while you work. Add your spacers and keep going until every tile is down. Once the mortar dries and your stones are solid, fill the gaps with grout. Top it all off with finishing touches like stained wood trim or painted shelves.