We may receive a commission on purchases made from links. Hey there, fellow nature lovers! If you’re someone who gets excited watching those colorful birds flitting around your backyard, especially during springtime, then you’re in for a real treat. Did you know you can actually lend a hand to these little feathered friends and help them out with their nest-building efforts? All you need is some scrap wire and a few natural materials, and you can put together a super cool DIY bird nesting feeder that’ll make your yard even more inviting for your avian pals. When it comes to the nesting materials, you’ll want to stick to natural fibers like cotton, wool, animal fur, jute, pine, and even feathers. Aside from the wire (which you can probably scrounge up from around the house), you’ll just need some basic tools like wire cutters and pliers. Now, I know DIY projects can seem intimidating if you’re new to them, but trust me, this one is going to be a breeze. And the satisfaction of creating something that gives back to nature is unbeatable. Ray Kennedy/Getty Images
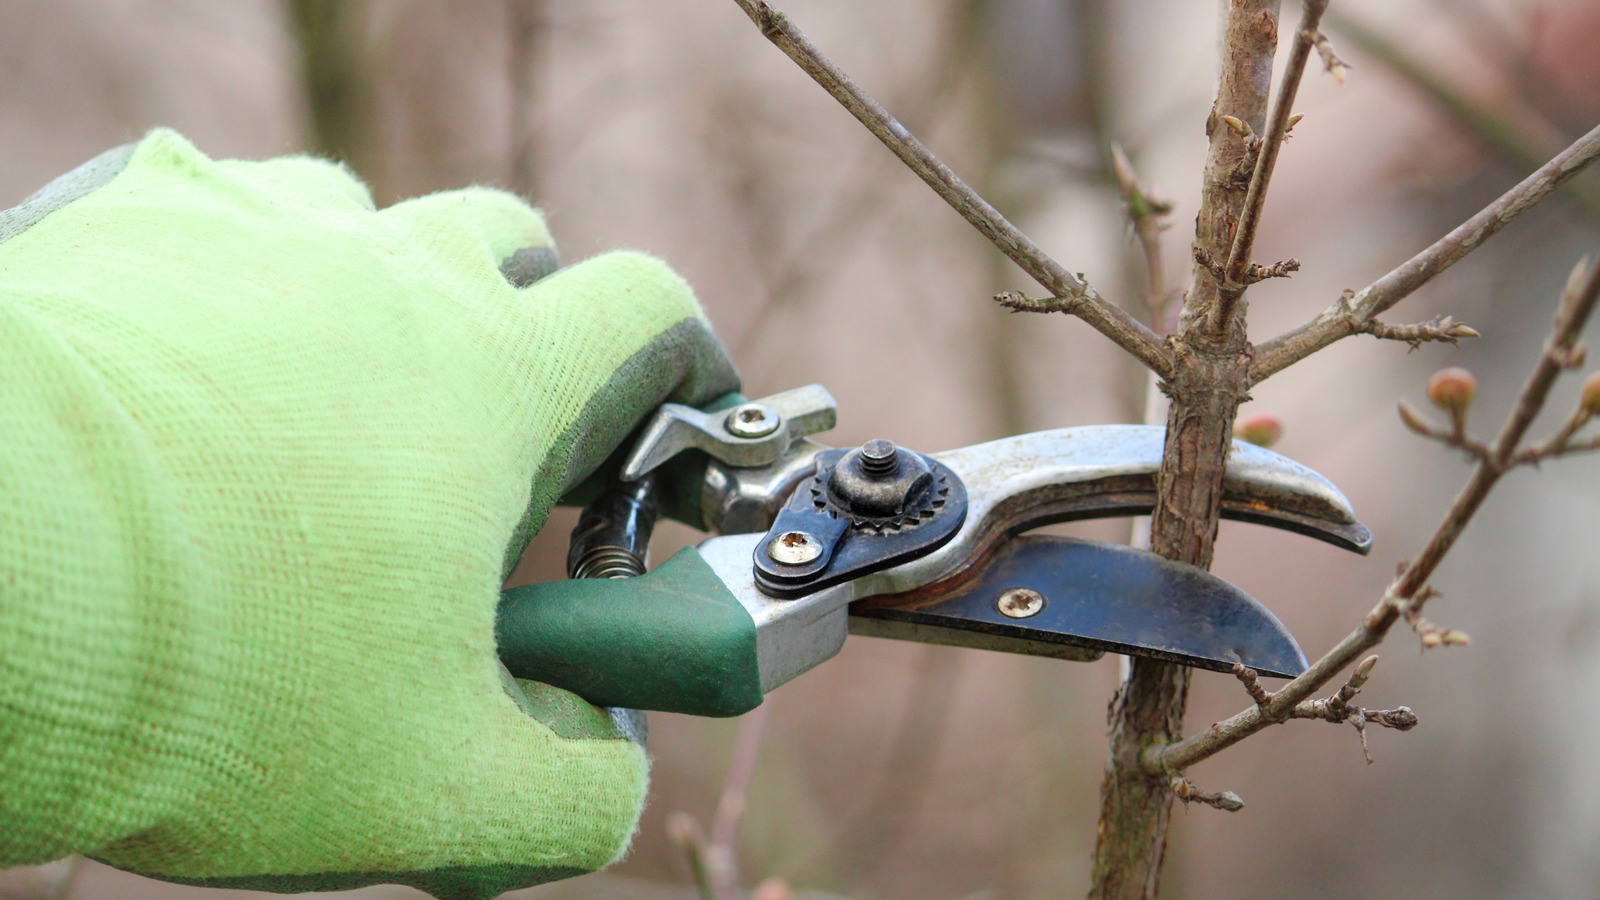
Measuring and cutting the scrap wire to make a DIY bird nesting feeder
 Santje09/Getty Images
 Alright, let’s get started! First, grab a piece of paper and sketch out a rough blueprint of the bird nesting feeder. This will help you visualize the measurements and make sure everything comes together nicely. Picture a rectangular box that’s about 5 by 4 by 1.5 inches – you can adjust the size to whatever works best for your space.
On the paper, draw a big rectangle that’s 13 by 4 inches. Then, 5 inches in from one end, draw a smaller rectangle that’s 5 inches tall and 1.5 inches wide. Do the same thing on the other end, so it looks like a cross. This is your blueprint for cutting the chicken wire.
Grab that scrap chicken wire and lay it flat on the table, using something heavy like a rock to hold it in place. Follow your blueprint and use wire cutters to snip the wire into the right shape. Now you’ve got the basic structure ready to fold into your DIY bird nesting feeder.
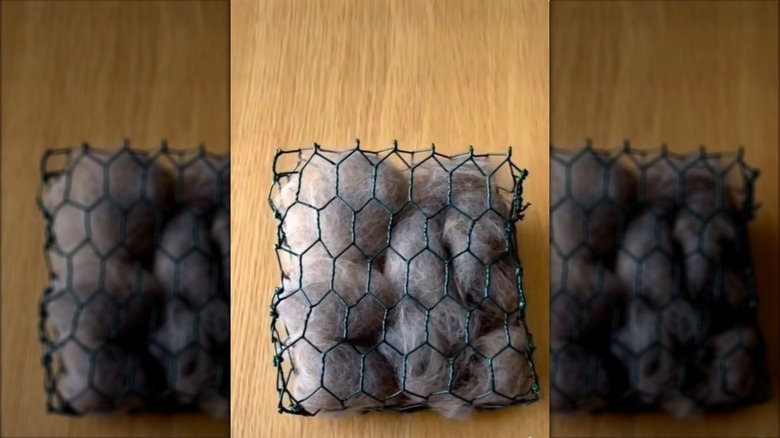
Turning your scrap wire into a bird nesting material dispenser
Alright, time to turn that cutout chicken wire into a nifty little nesting feeder! Grab your ruler and start folding the wire into a rectangular box. Use the pliers to twist the wire ends together along each edge, making sure to tuck any sharp points inward so they don’t poke the birds.
Now comes the fun part – filling it up with nesting materials! This is your chance to get creative. Collect bits of soft cotton, wool, or animal fur from around the house. Any leftover twine or small sticks and twigs from your yard will work great too. Just cut them into short pieces and stuff them all into the wire feeder.
Finally, hang your DIY bird-nesting material dispenser outside, somewhere close to your bird feeders and baths. That way, your feathered friends can easily spot it as they’re refueling. You can even try placing it near any birdhouses you have – that’ll make it super convenient for them. Just remember to keep refilling it as needed, and enjoy watching the birds use your handmade creation to build their cozy little homes!