phM2019/Shutterstock
We may receive a commission on purchases made from links.
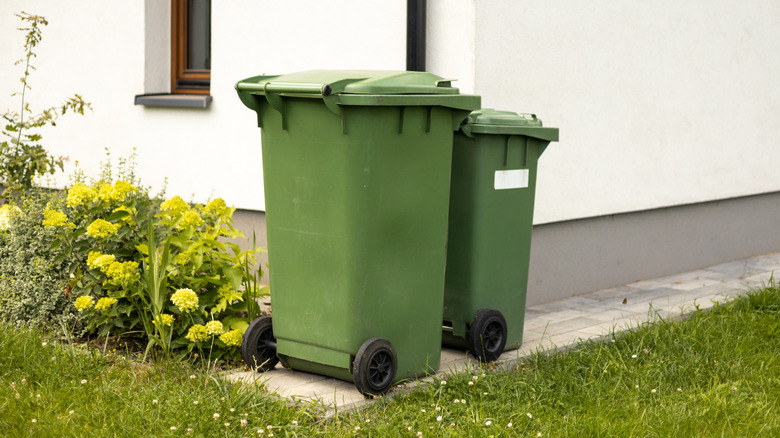
Outdoor trash cans can be a bit of a hassle, but there’s a clever DIY solution to keep them tidy and out of the way. This easy project can be done in a day, as shown by creator @comestayawhile on TikTok.
The key is finding the right spot – a level area near the driveway is ideal so you can easily wheel the bins out on trash day. Use some string and pegs to map out the space you need for your cans plus a little extra room to maneuver.
Gather some affordable materials like landscape fabric, edging, sand, pavers, and gravel from your local hardware store. Put it all together to create a practical, low-maintenance storage area that looks great too. Let’s dive into the step-by-step!
How to construct the outdoor trash can storage area
bayoespeed/Shutterstock
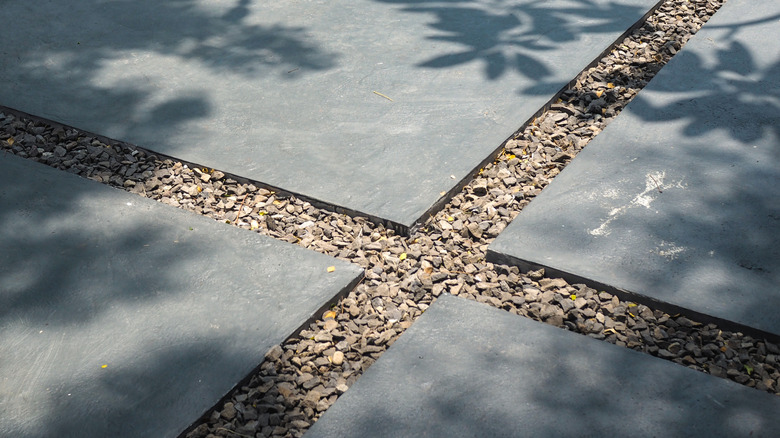
Concrete pavers are a great choice – they come in all sorts of styles, cover the area quickly, and are pretty affordable. You can lay them in a square or diagonal pattern, with spaces between to fill in with gravel.
First, cover the ground with landscape fabric to prevent weeds. Then fit the edging and add a couple inches of sand as a smooth base for the pavers. Compact the sand down, place your pavers, and fill the gaps with gravel. You can even spray the gravel with clear glue to help keep it in place.
And that’s it! Your brand new outdoor trash can storage area will be functional, stylish, and a breeze to put together in just one day.